Our Shower Procedure
Step 1: We start by checking to make sure that all wall studs are plumb, they’re level with each other, and that your wall transitions are a precise 90 degree corner. We correct all flaws until the walls are plumb, the studs are level with each other, and the corner transitions are precisely 90 degrees. This process is completed by shaving any “bellies” down and installing specialty shims.
Step 2: Next we use a specialized stainless steel washers and screws to install waterproof wall board. All screw and washer penetrations, wall transitions, and ceiling transitions get sealed using manufacturer required sealants and waterproof banding.
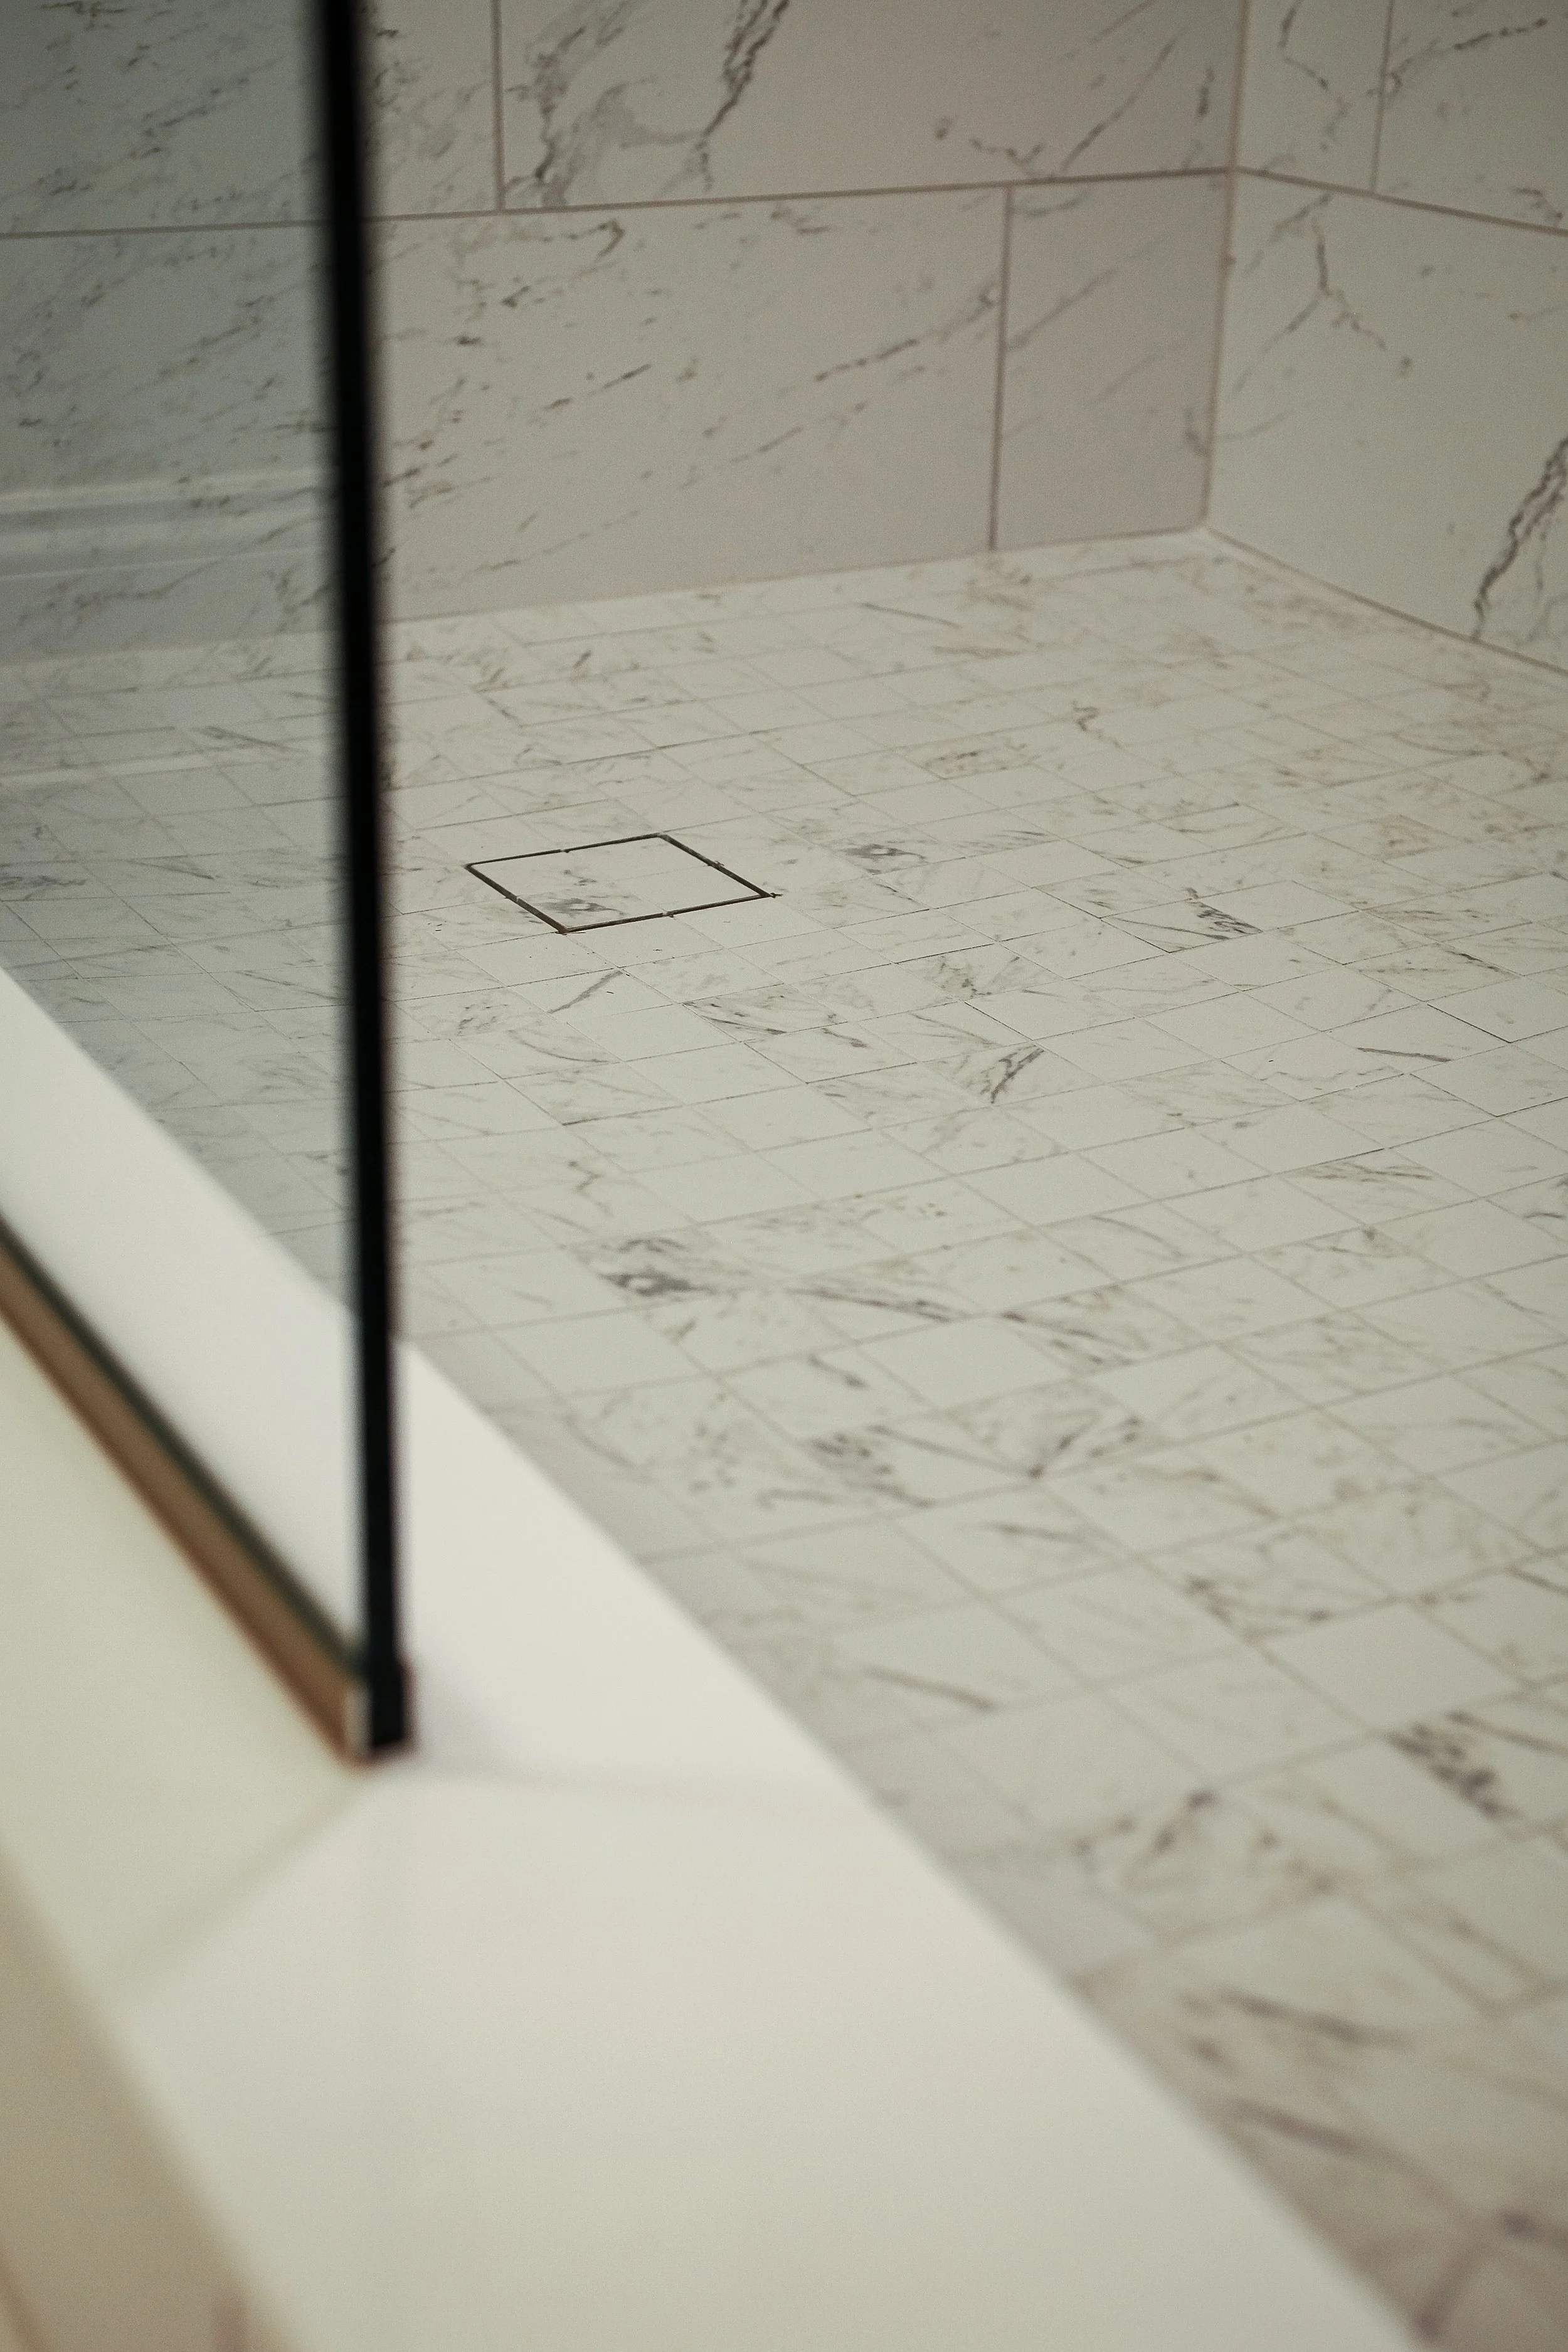
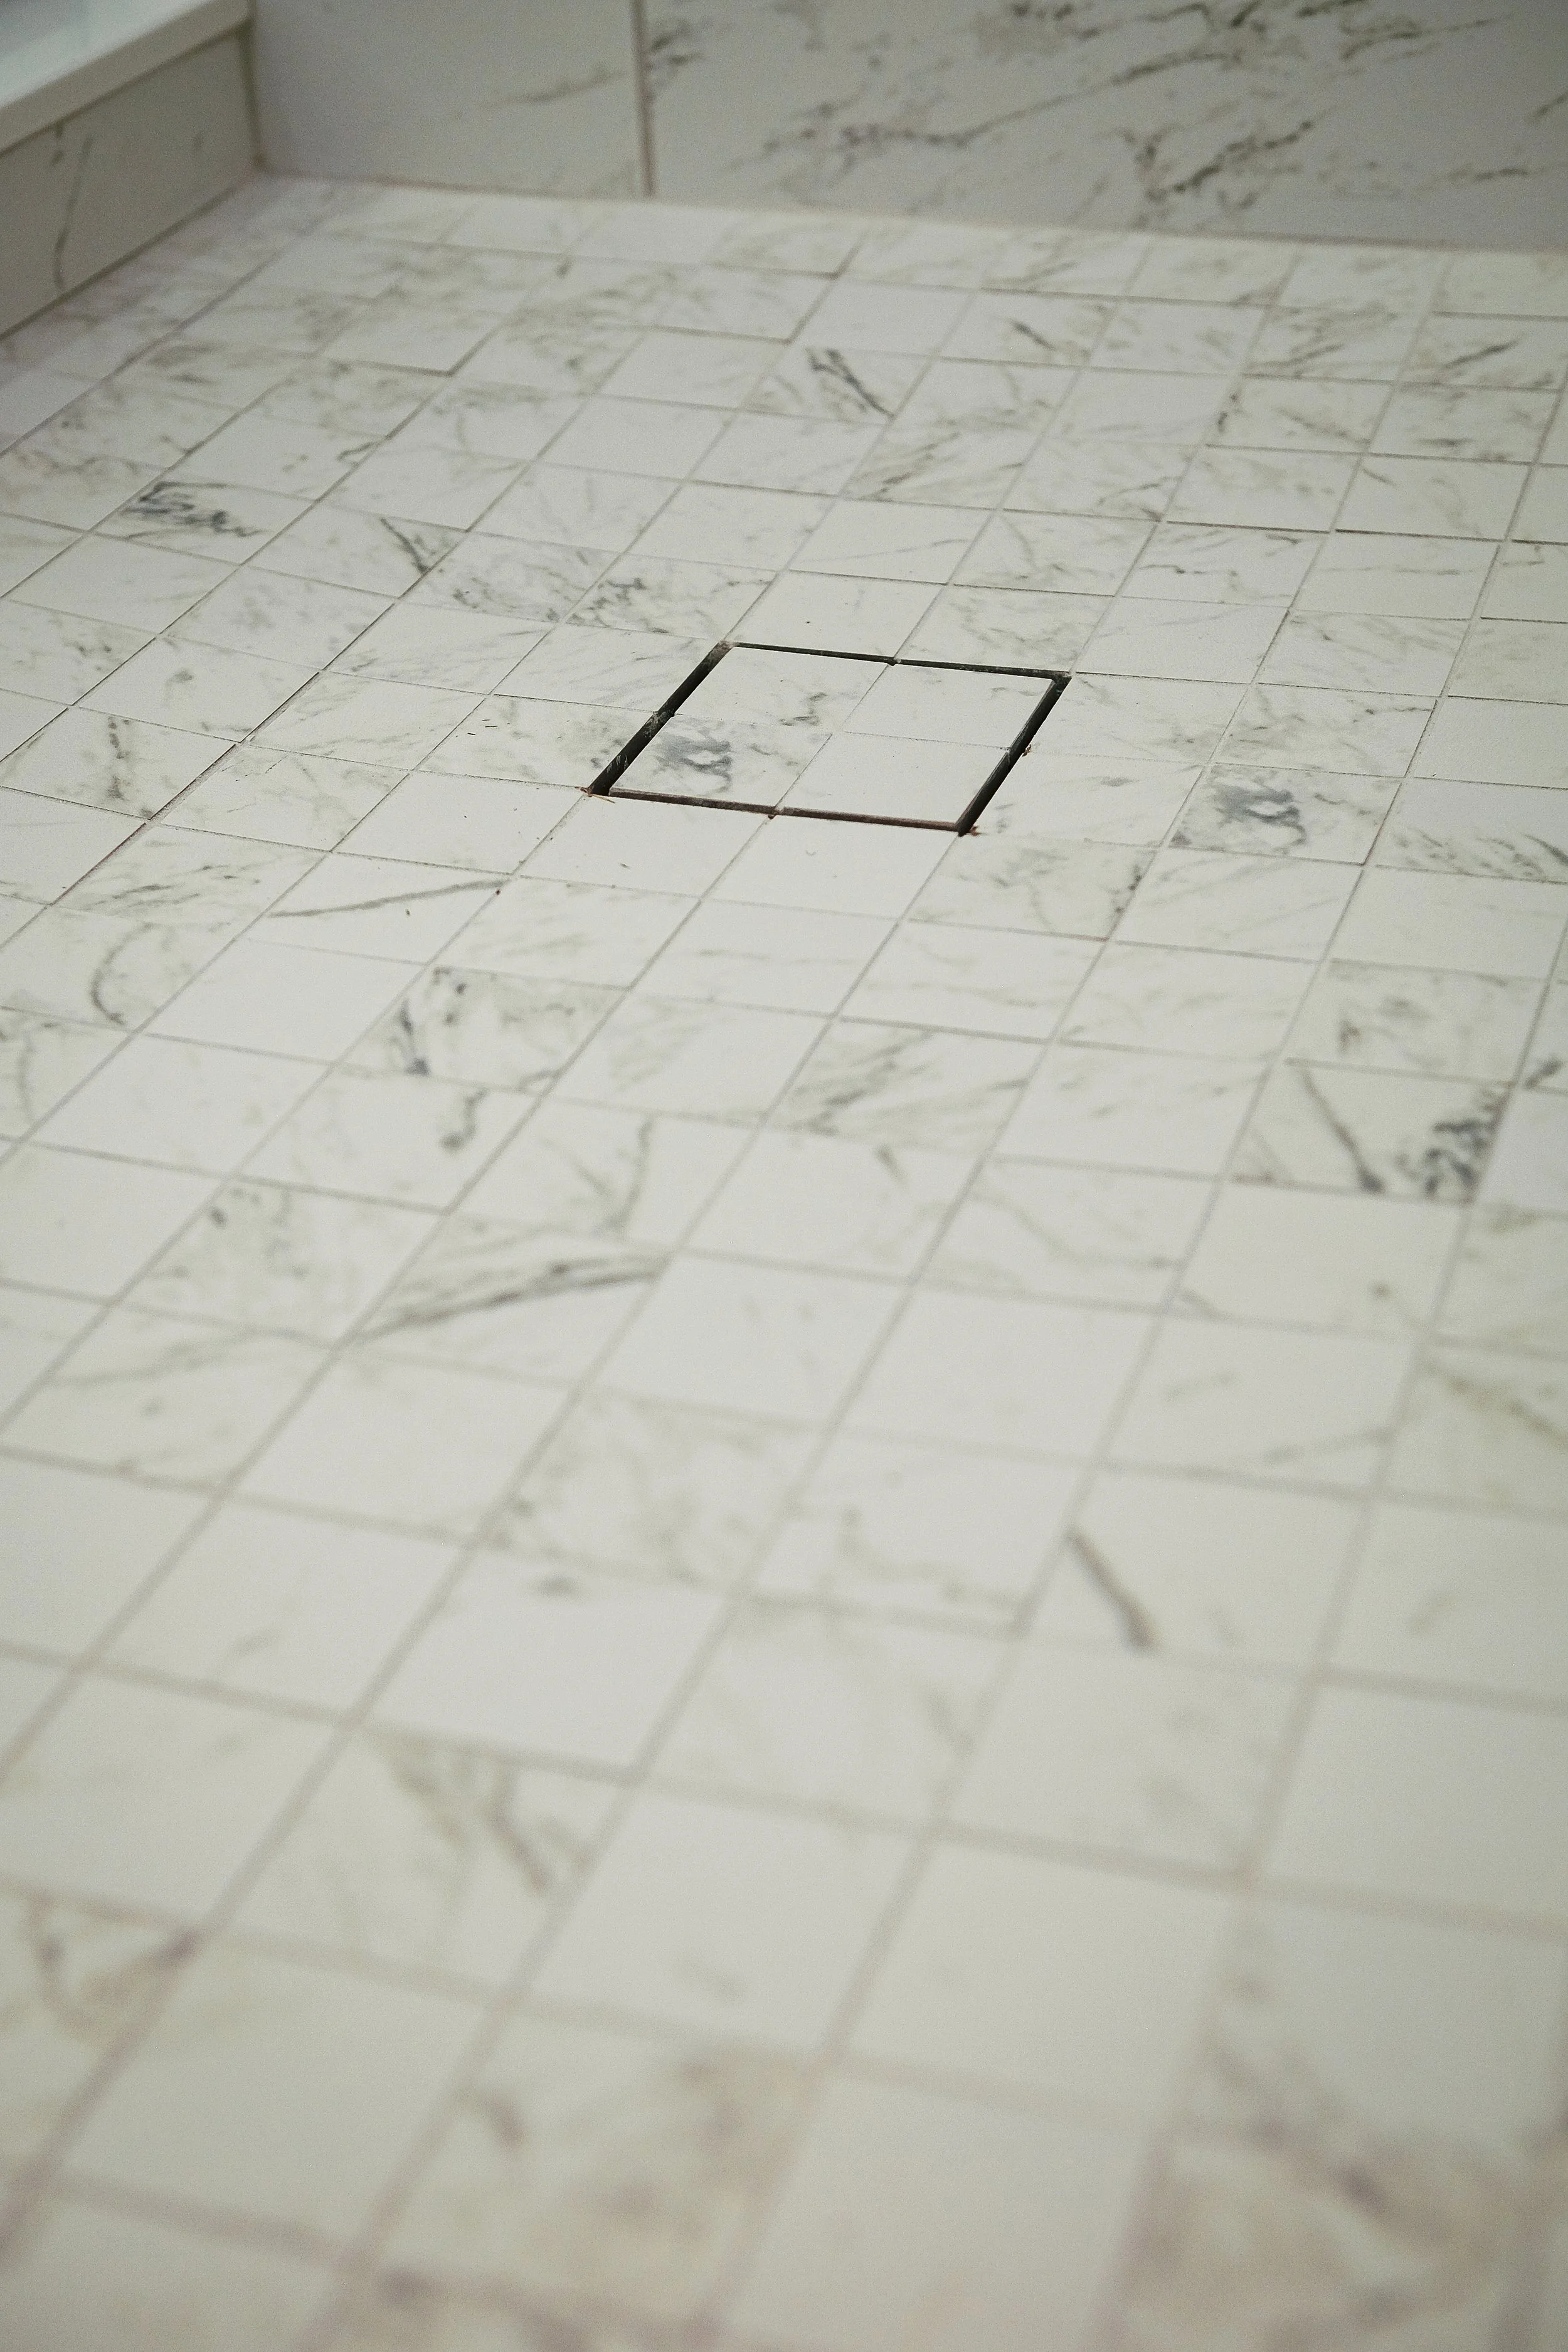
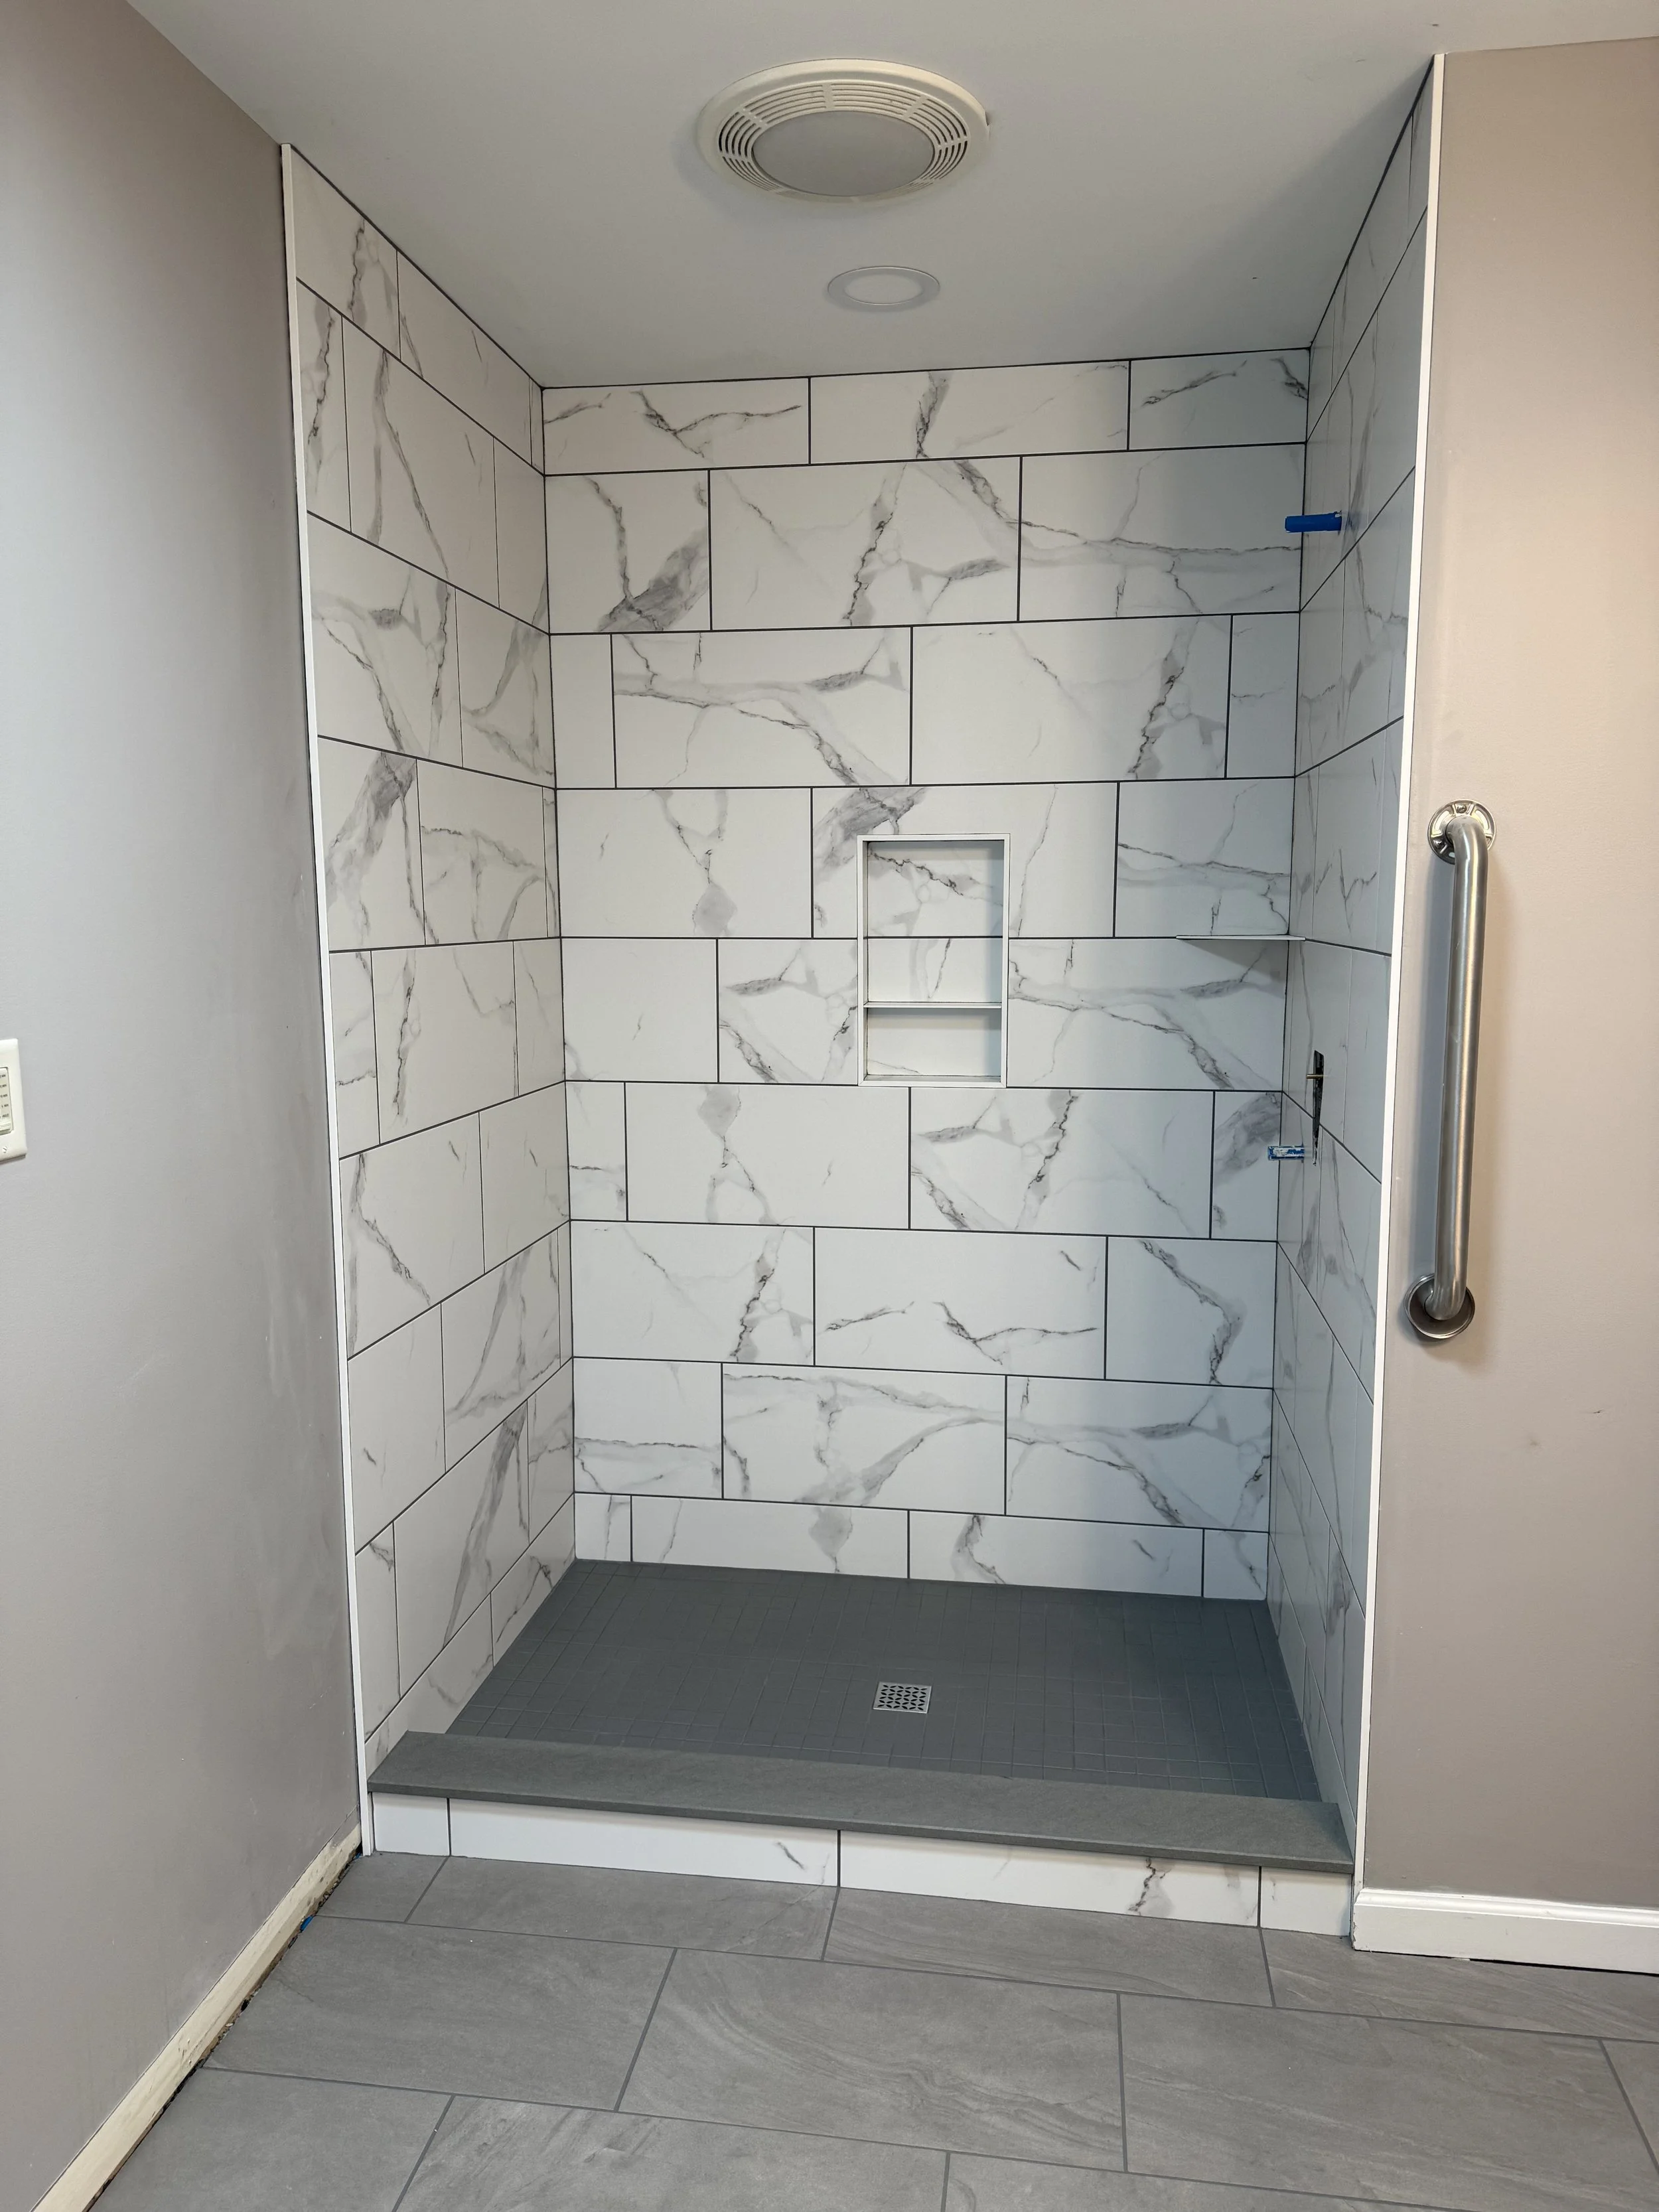
Step 3: After preparing all walls, we move onto shower floor preparation. This includes installing a custom sloped shower pan, a curb when needed, and a speciality drain flange. Once the pan is completed, we waterproof all plane transitions between the curb, drain, and the walls. This thorough preparation ensures that you have a watertight substrate for your tile to be installed on.
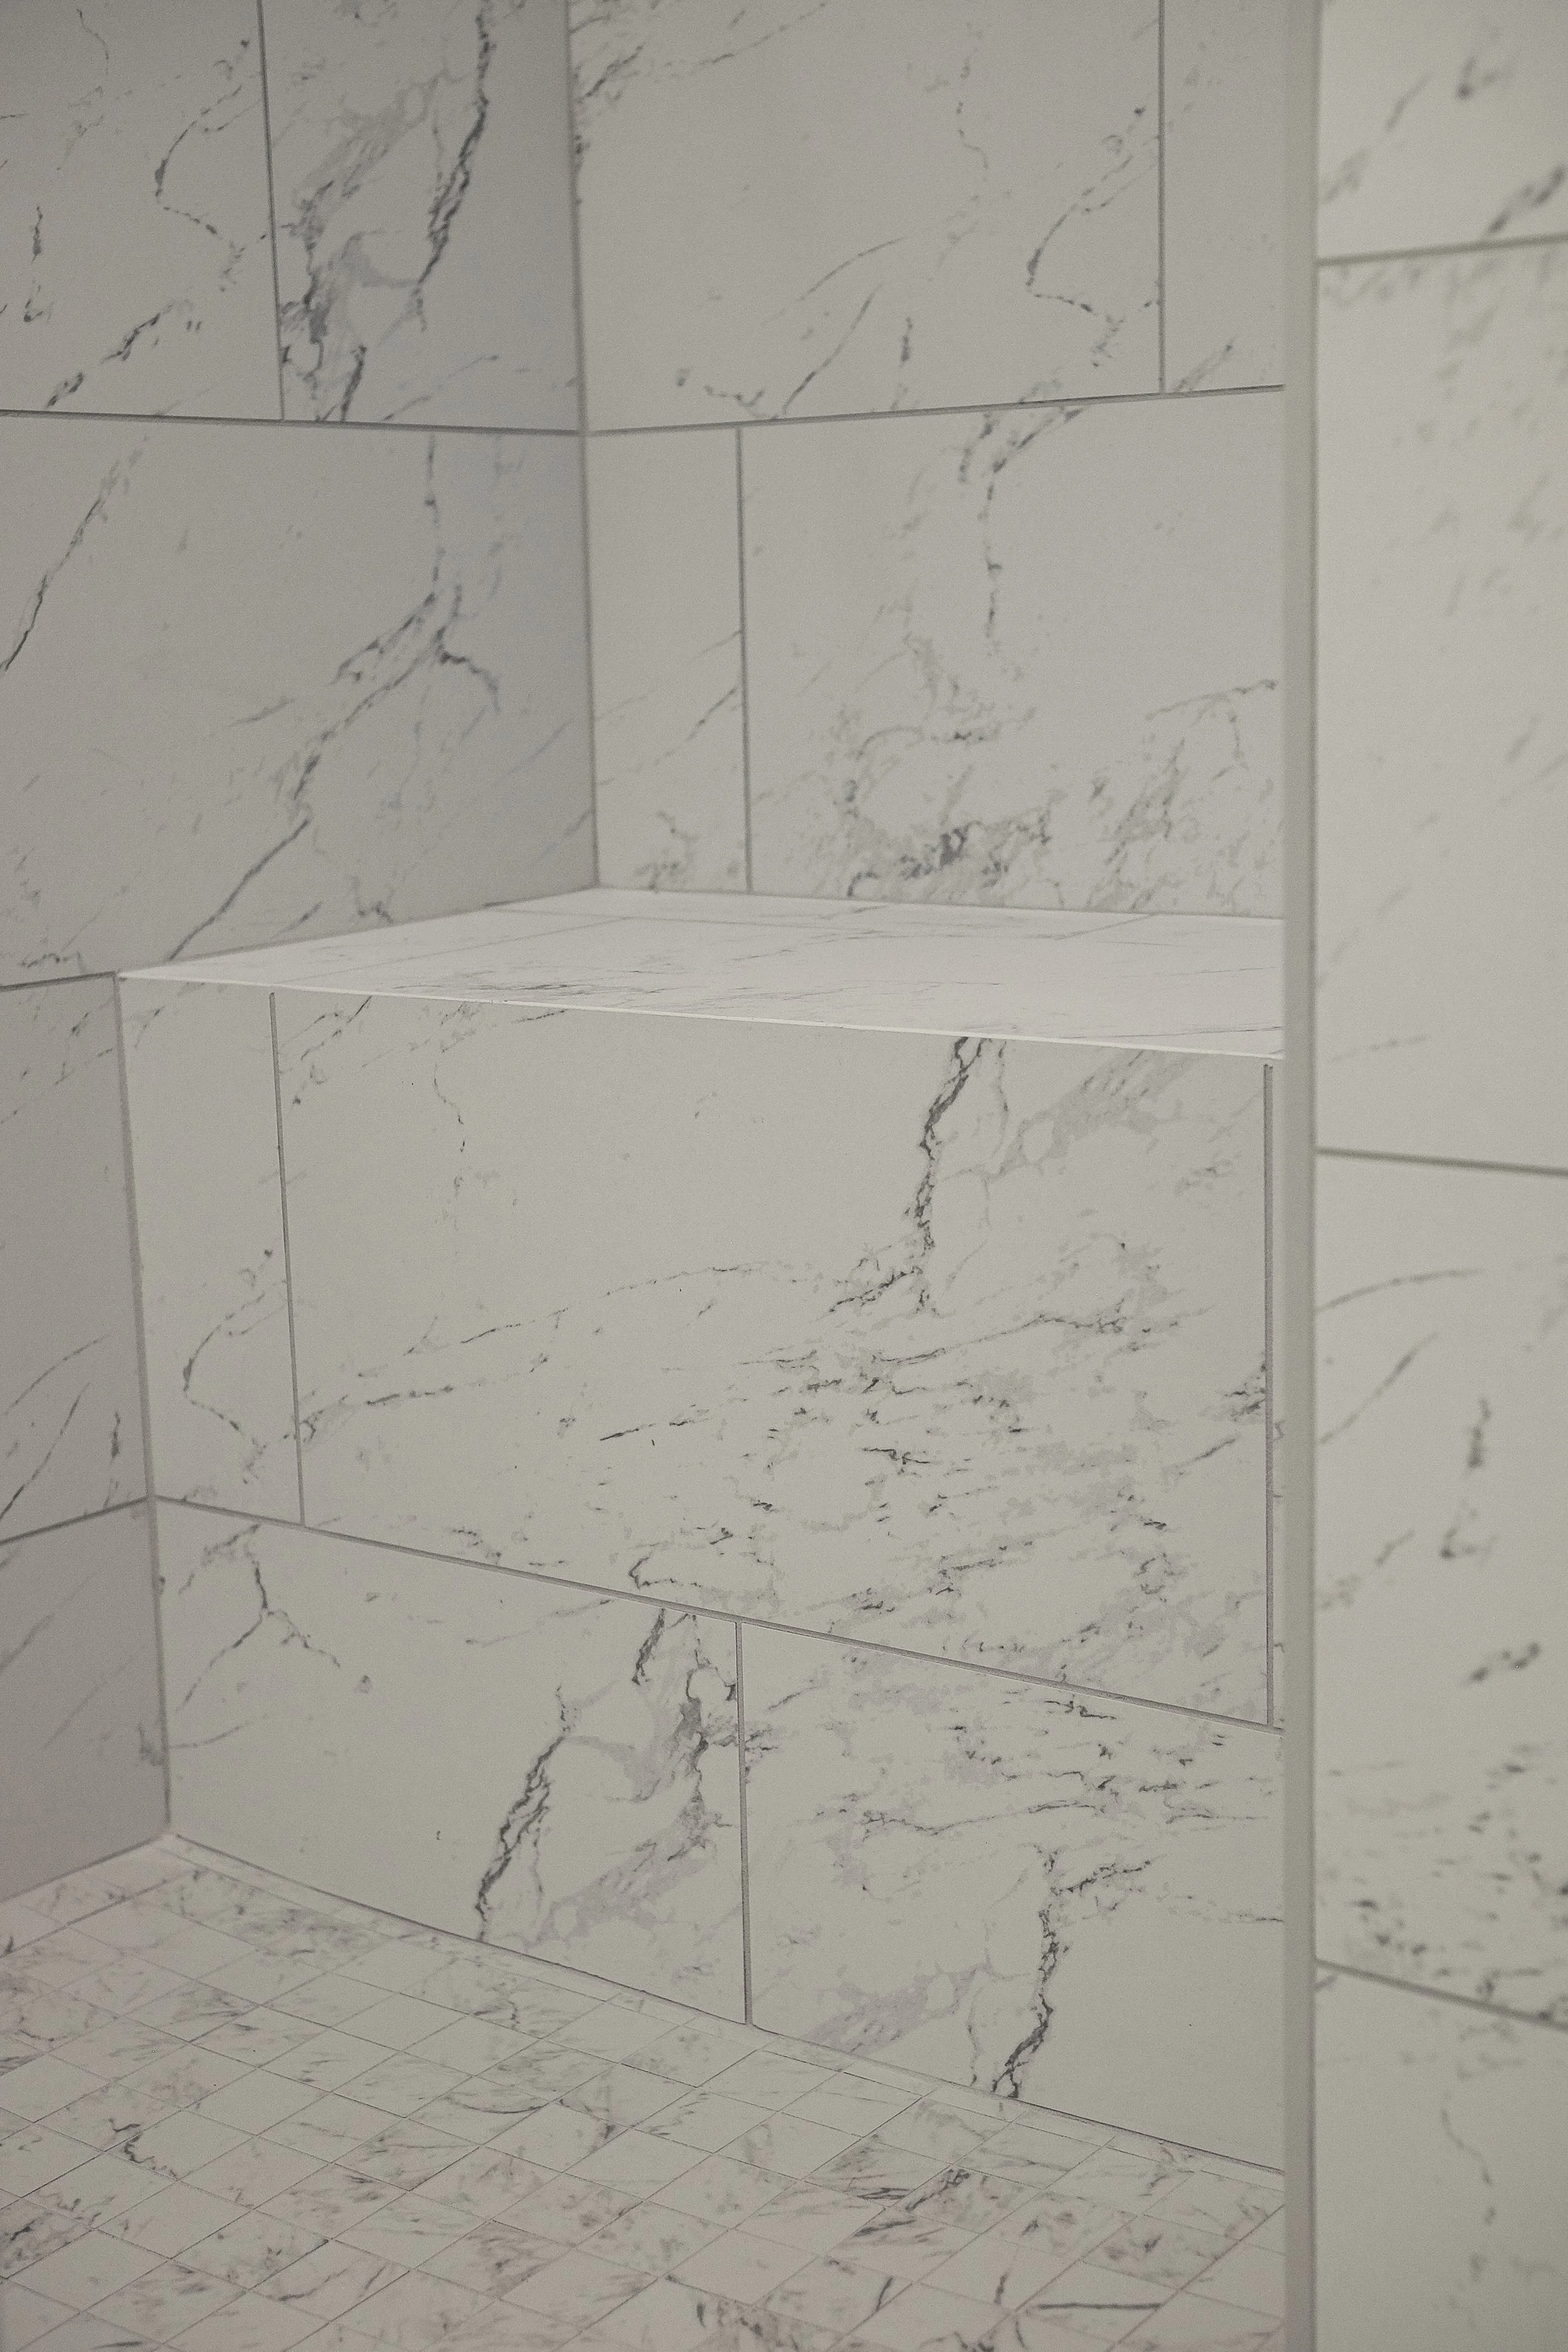
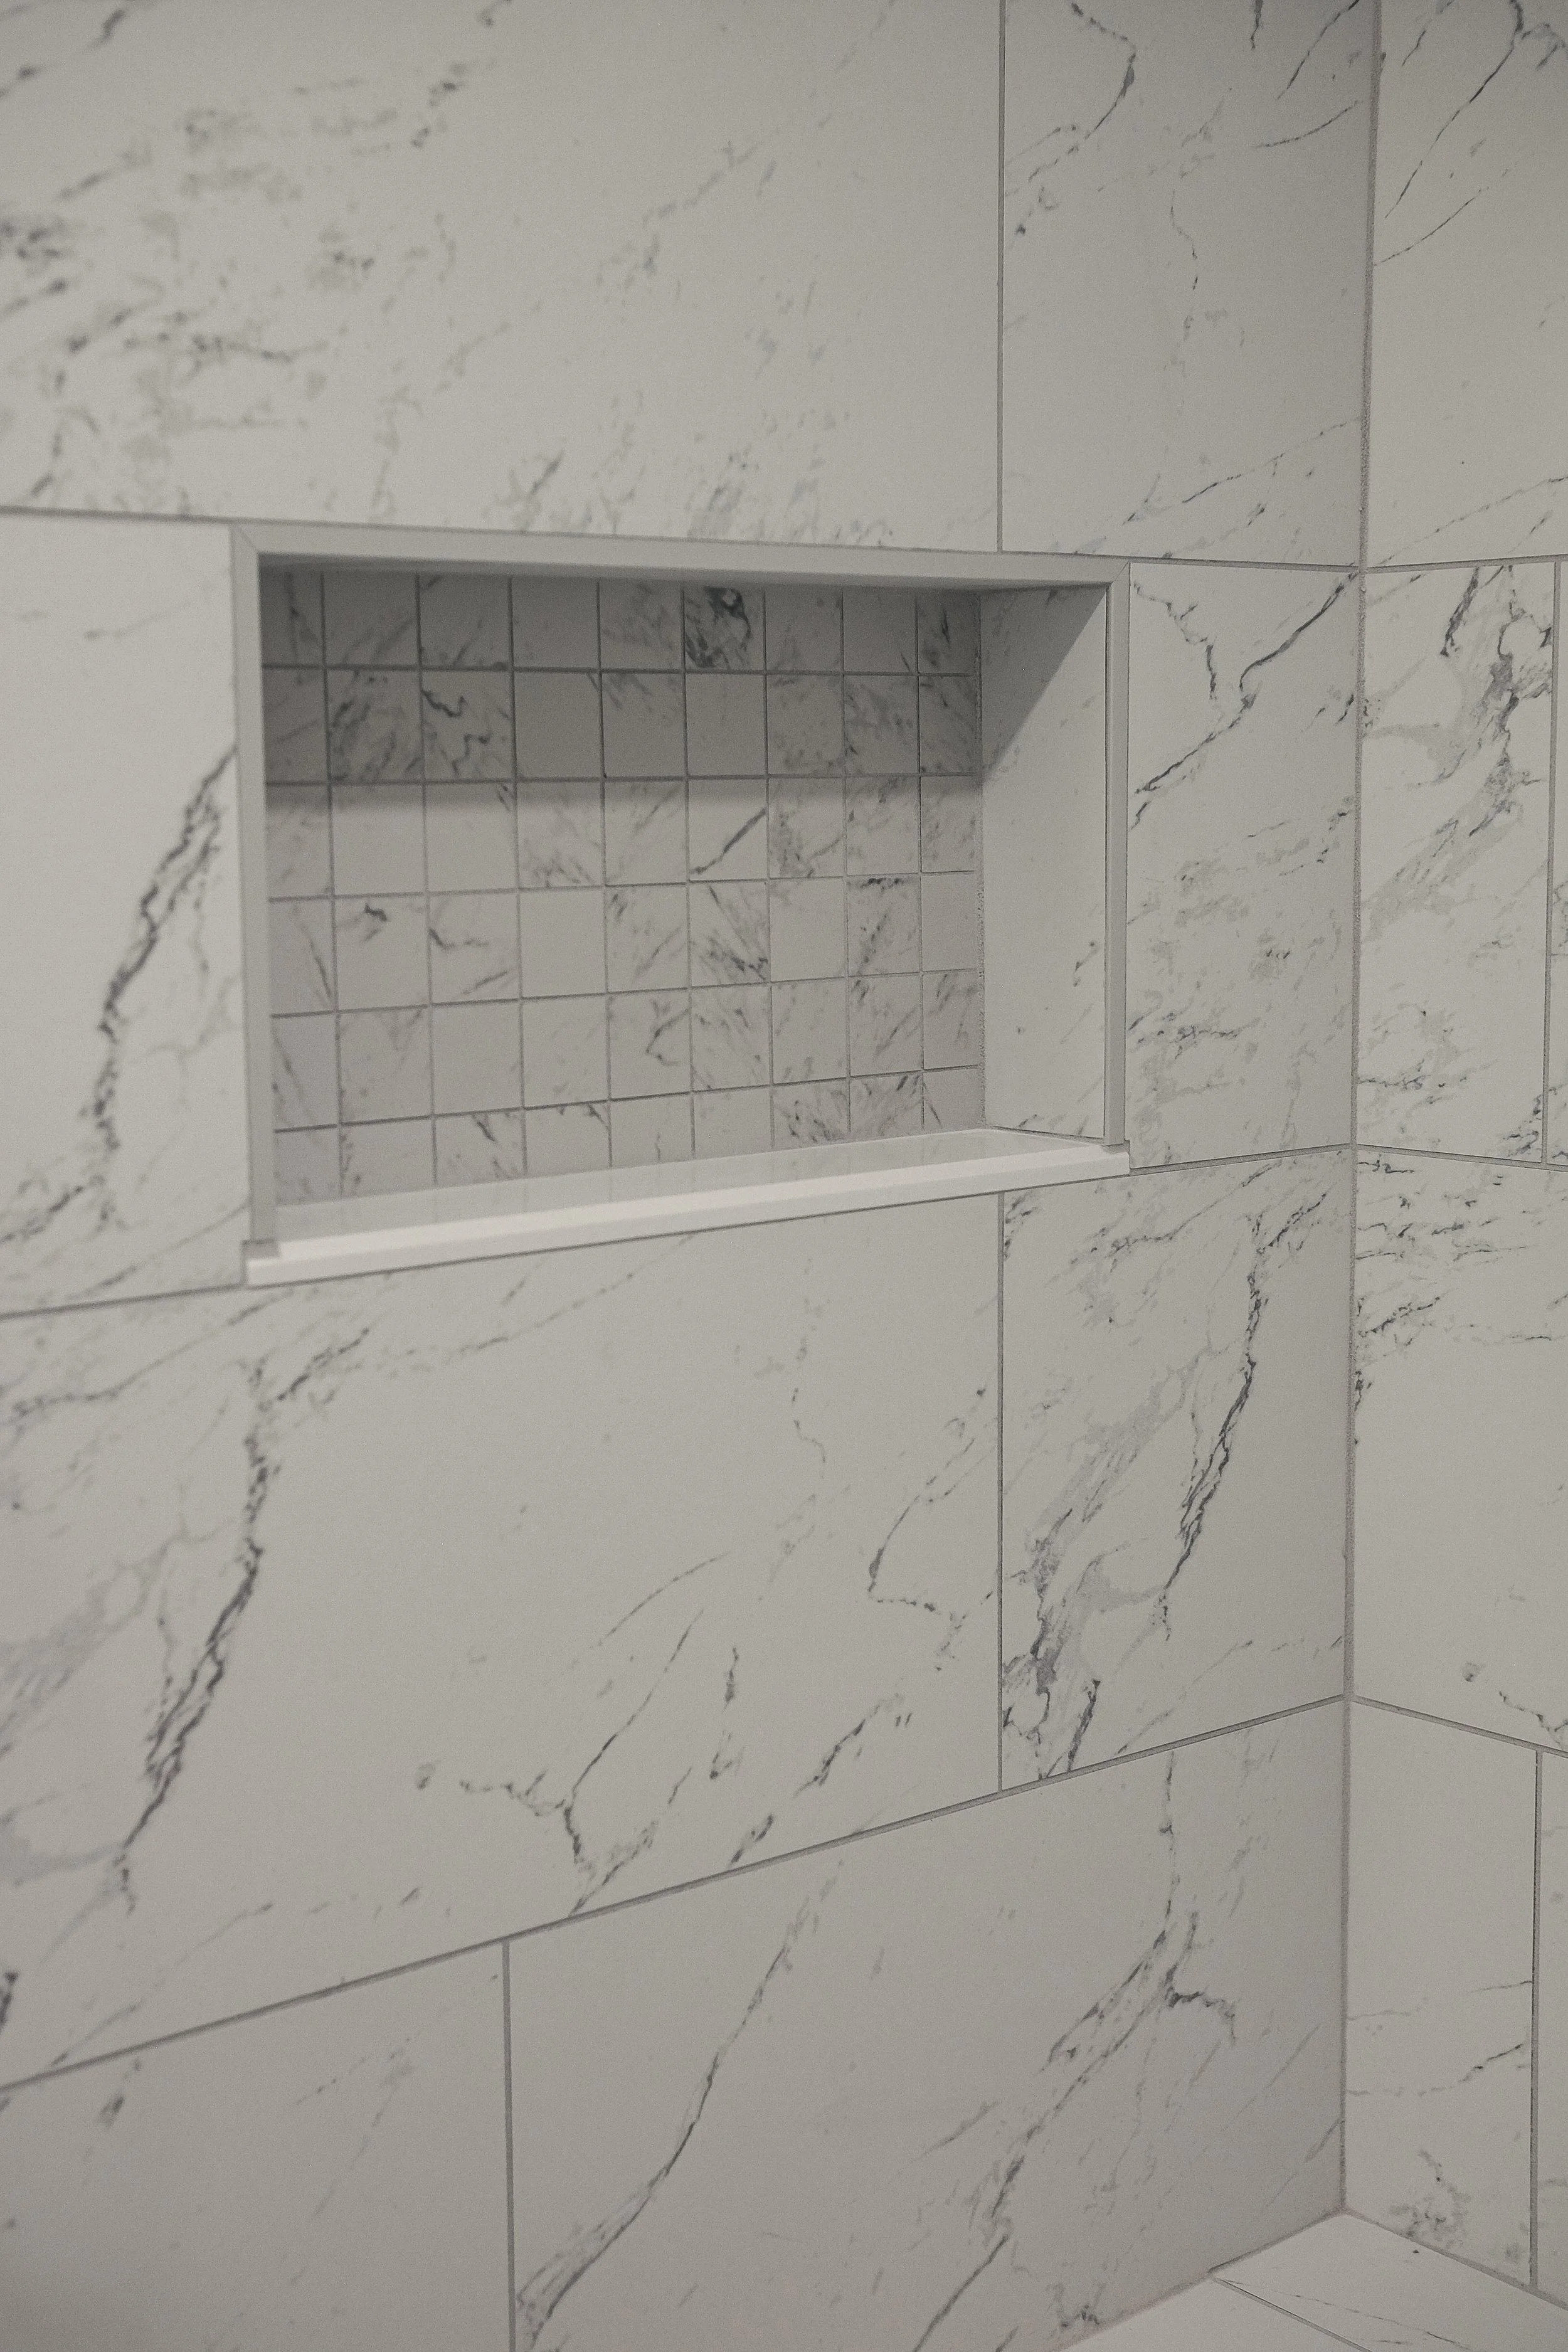
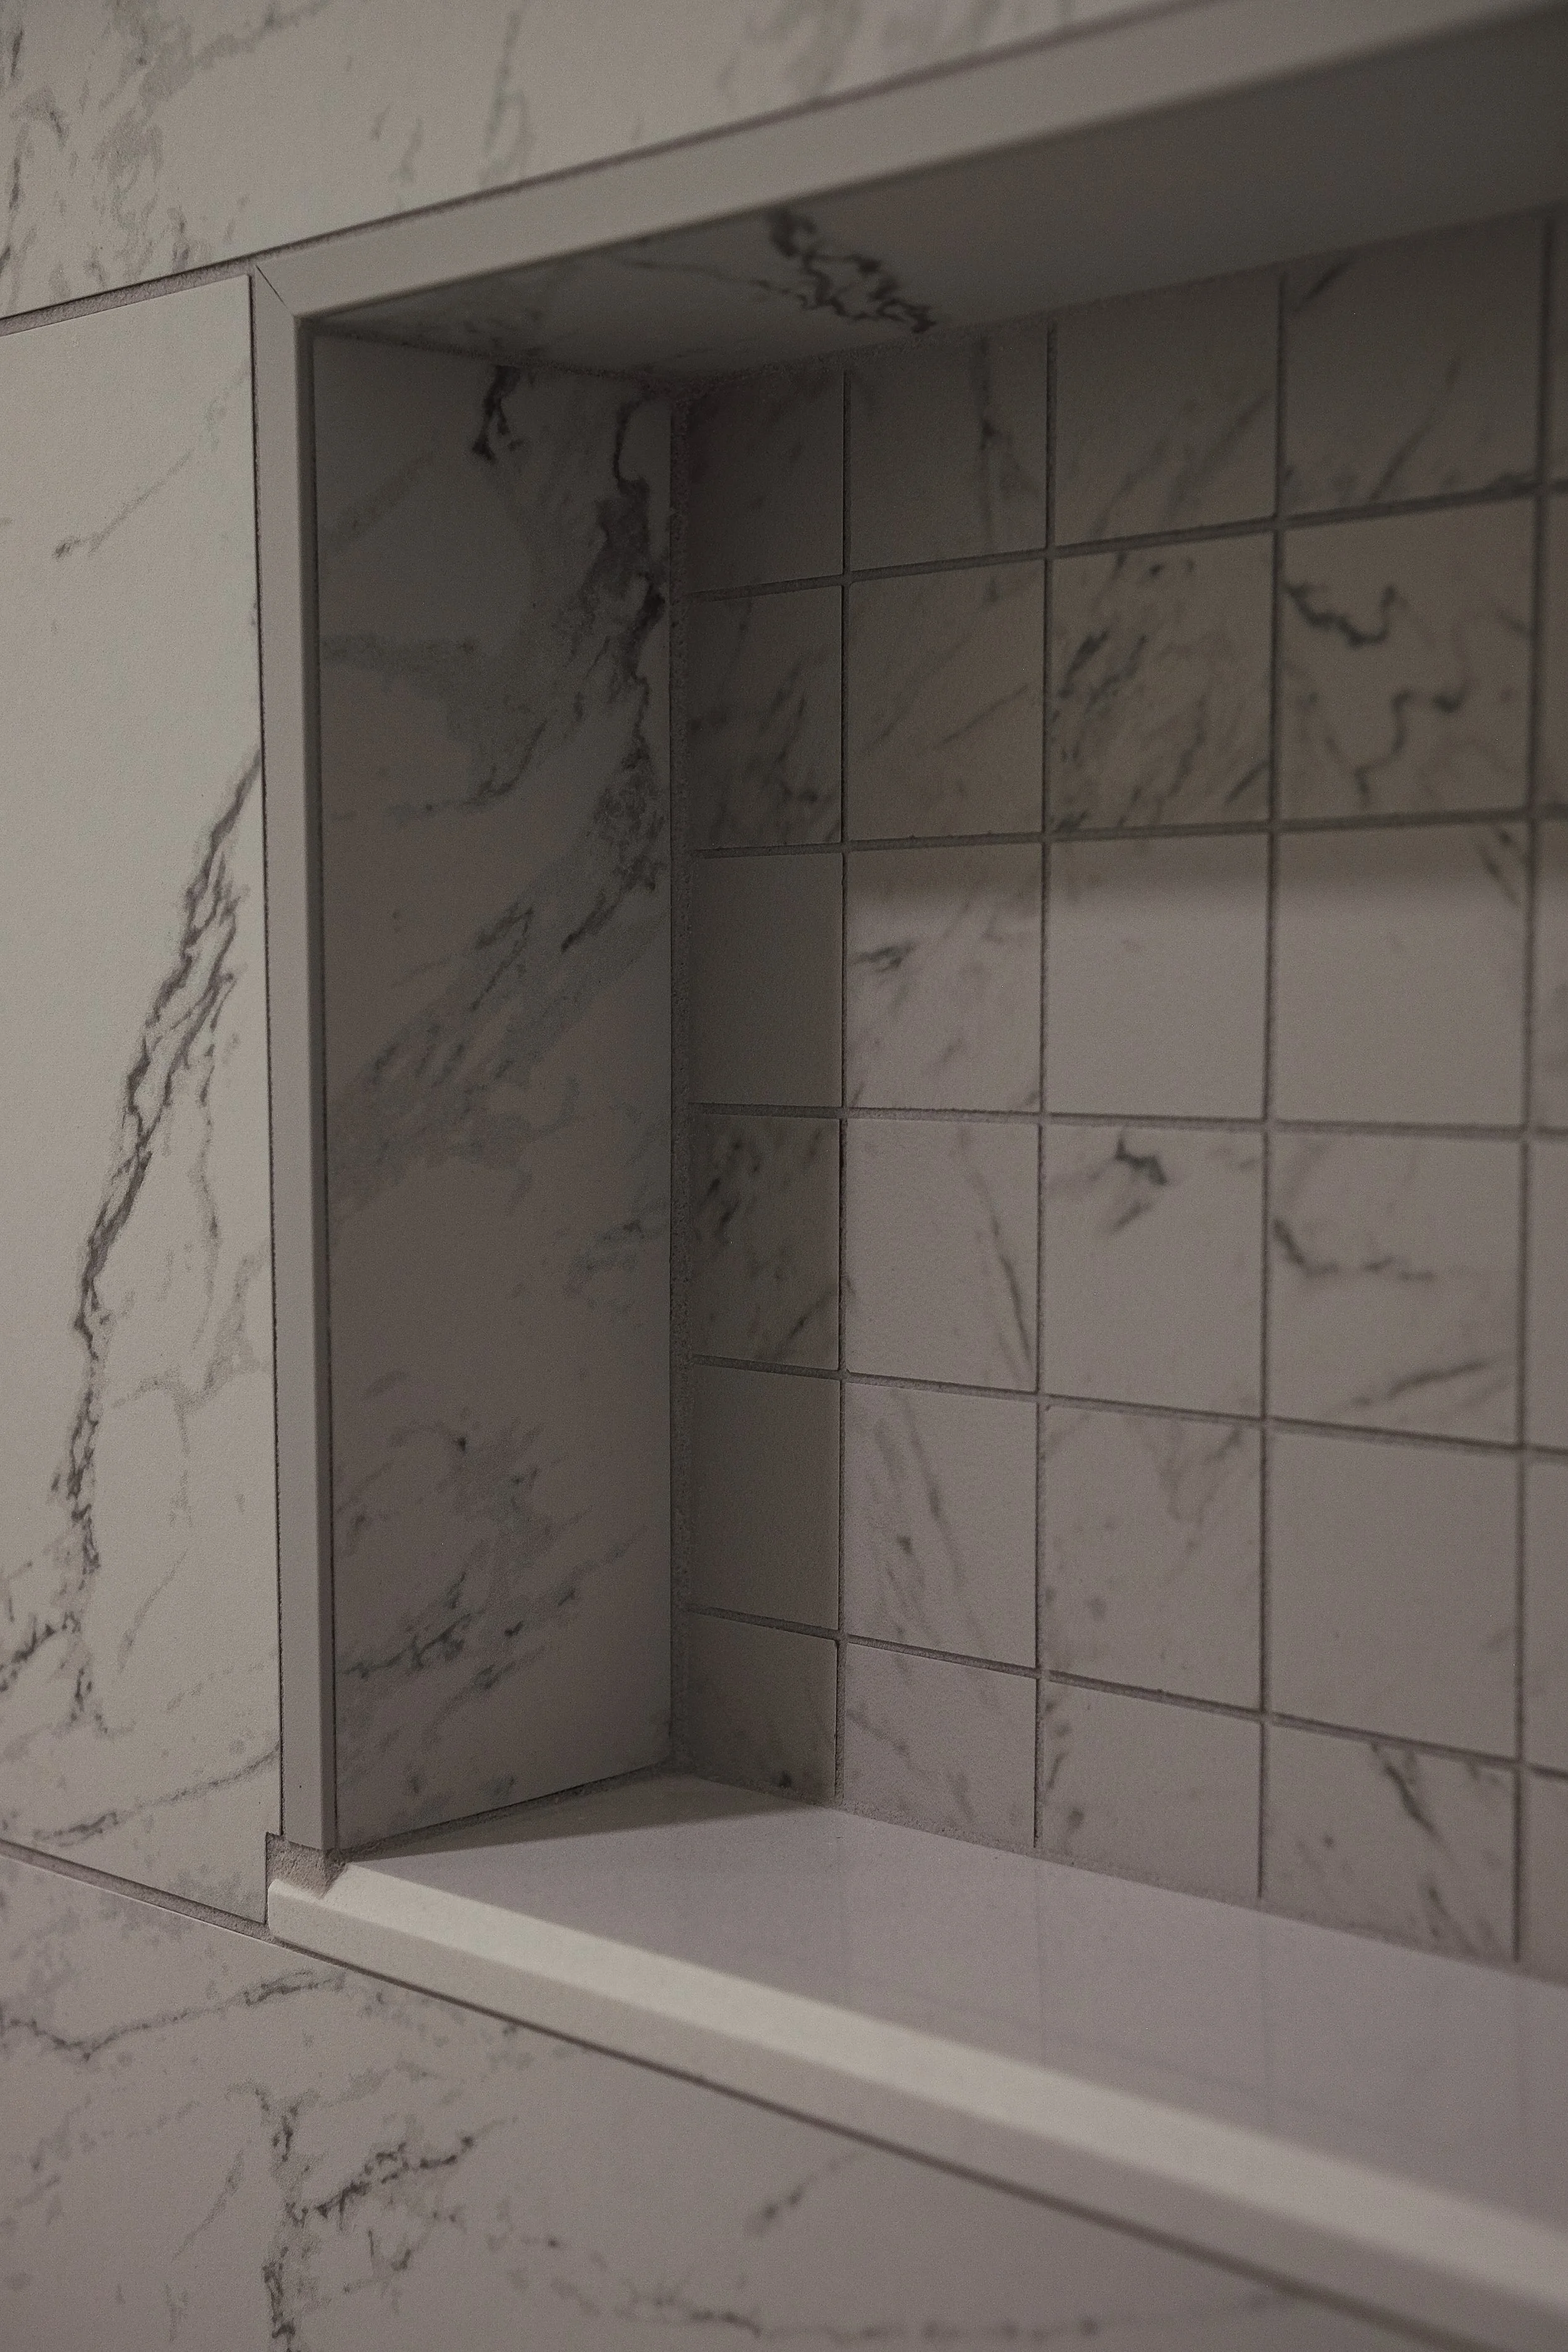
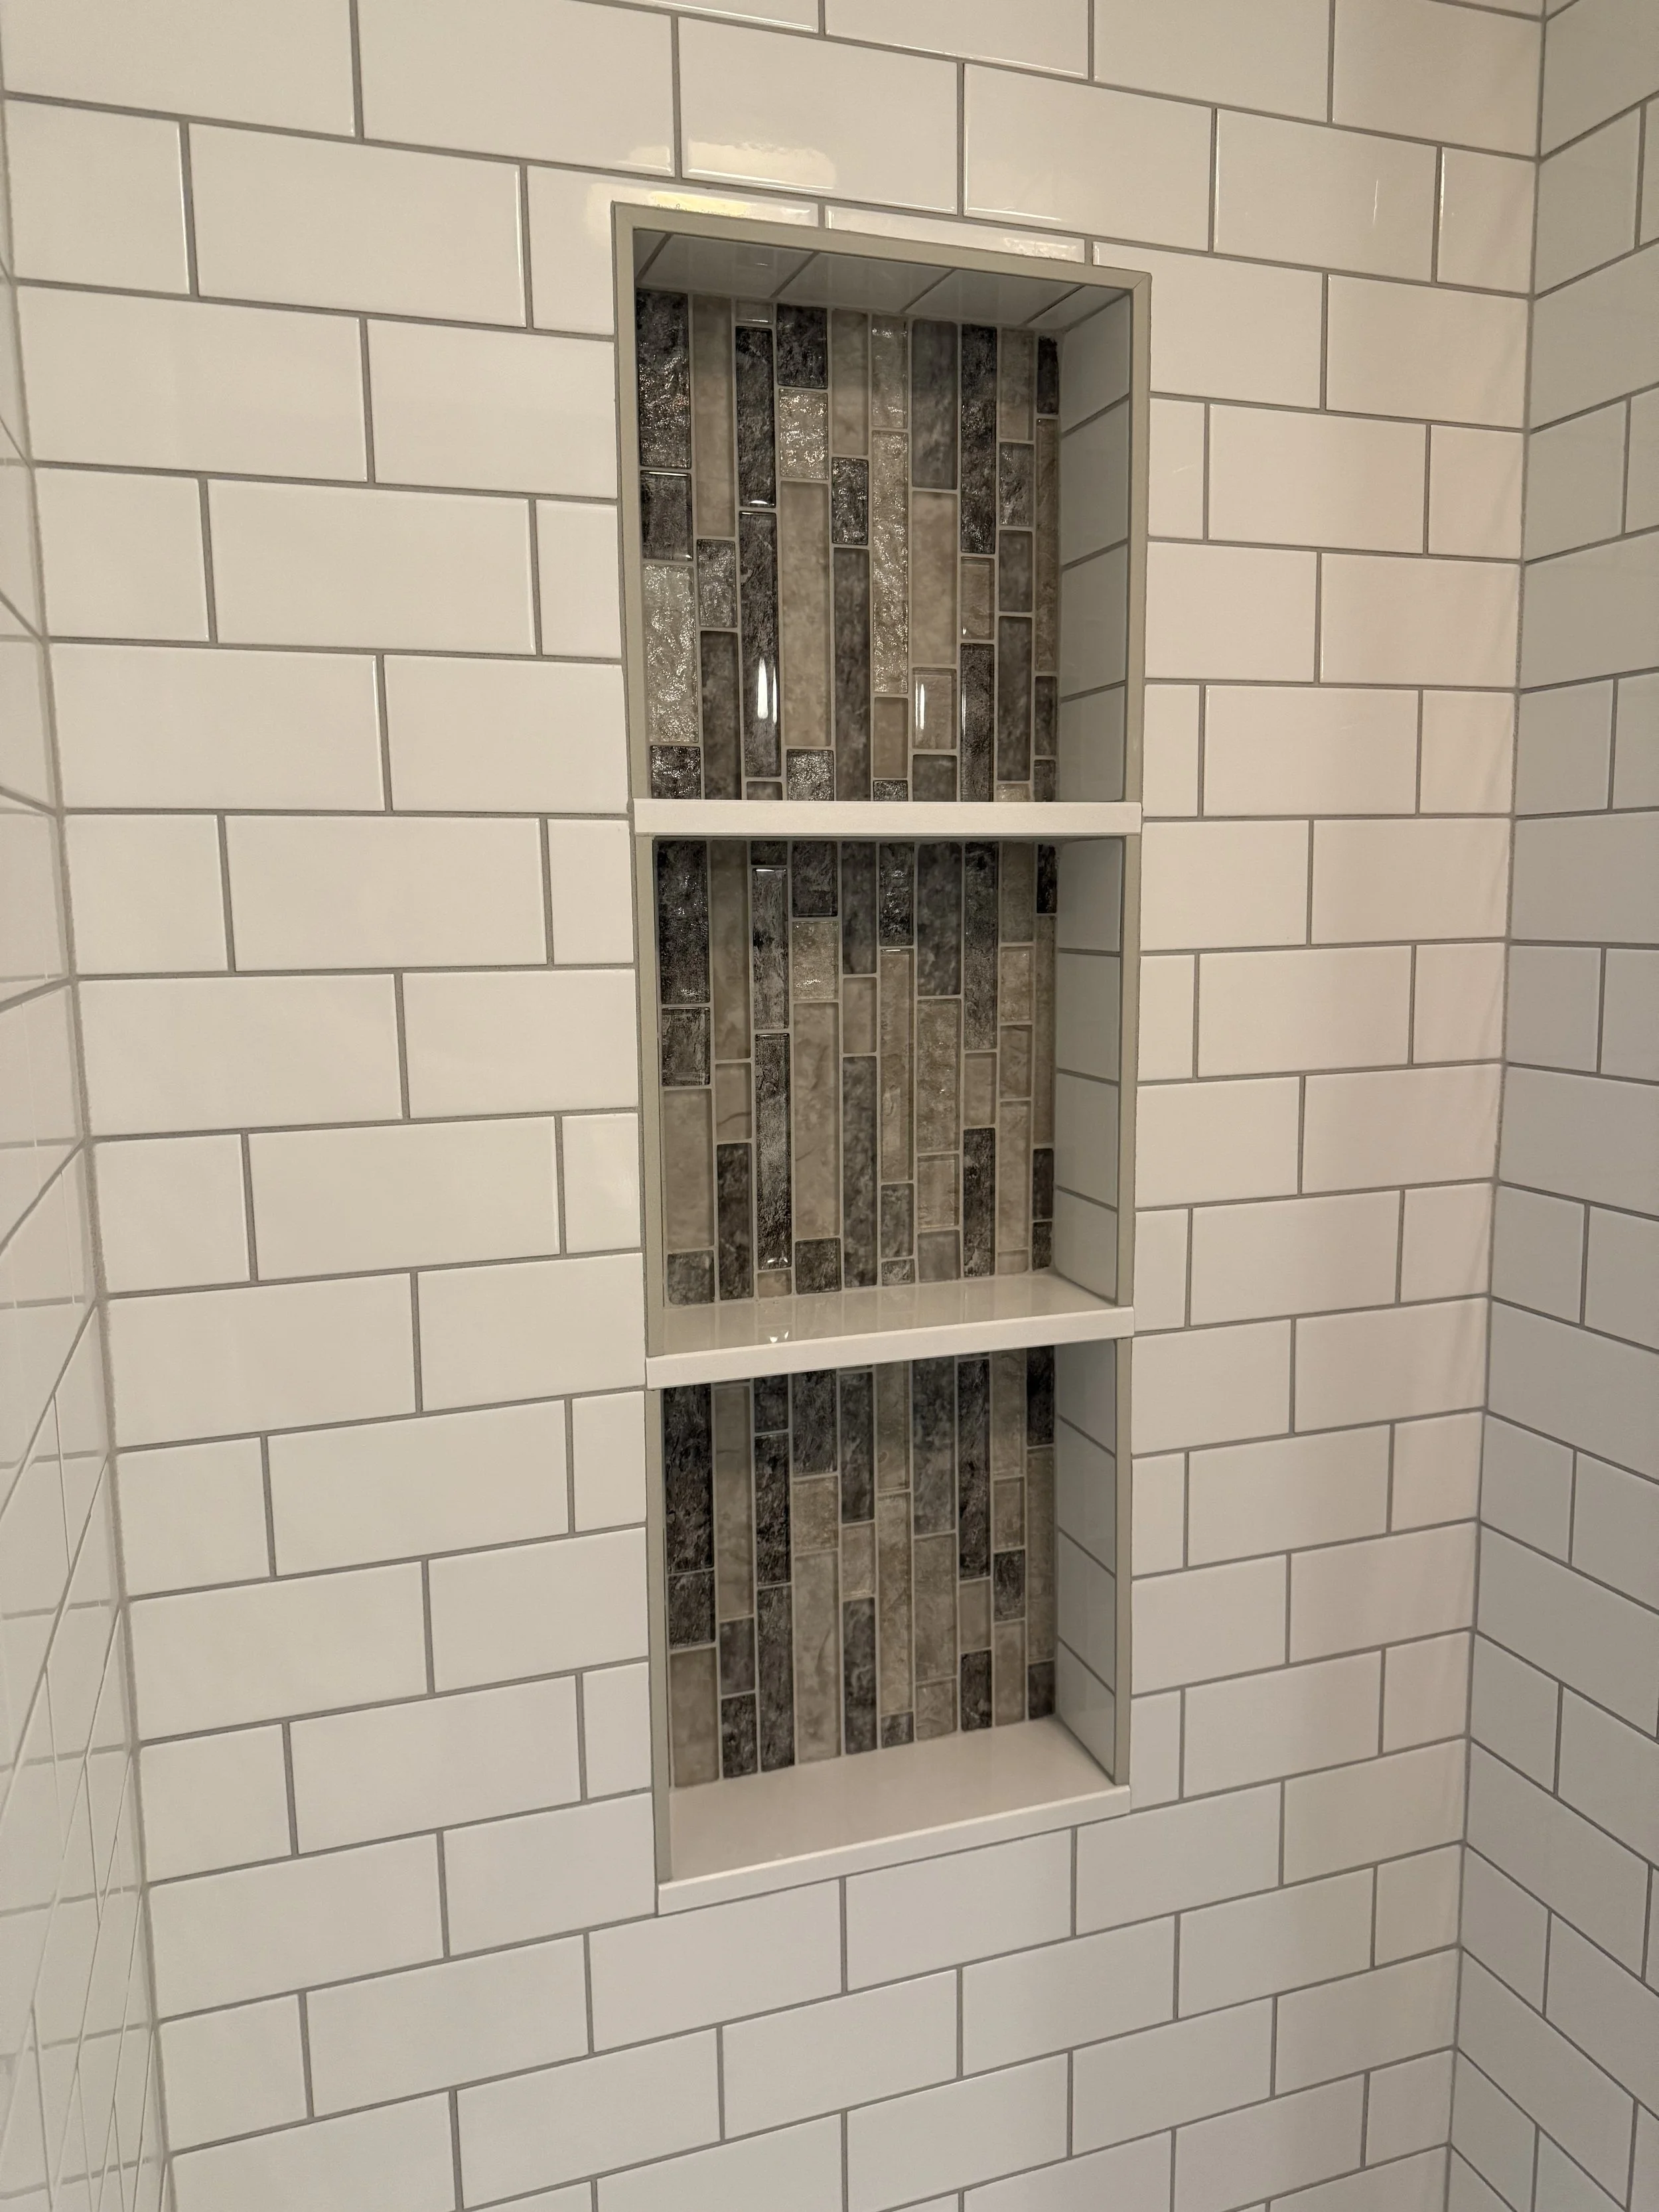
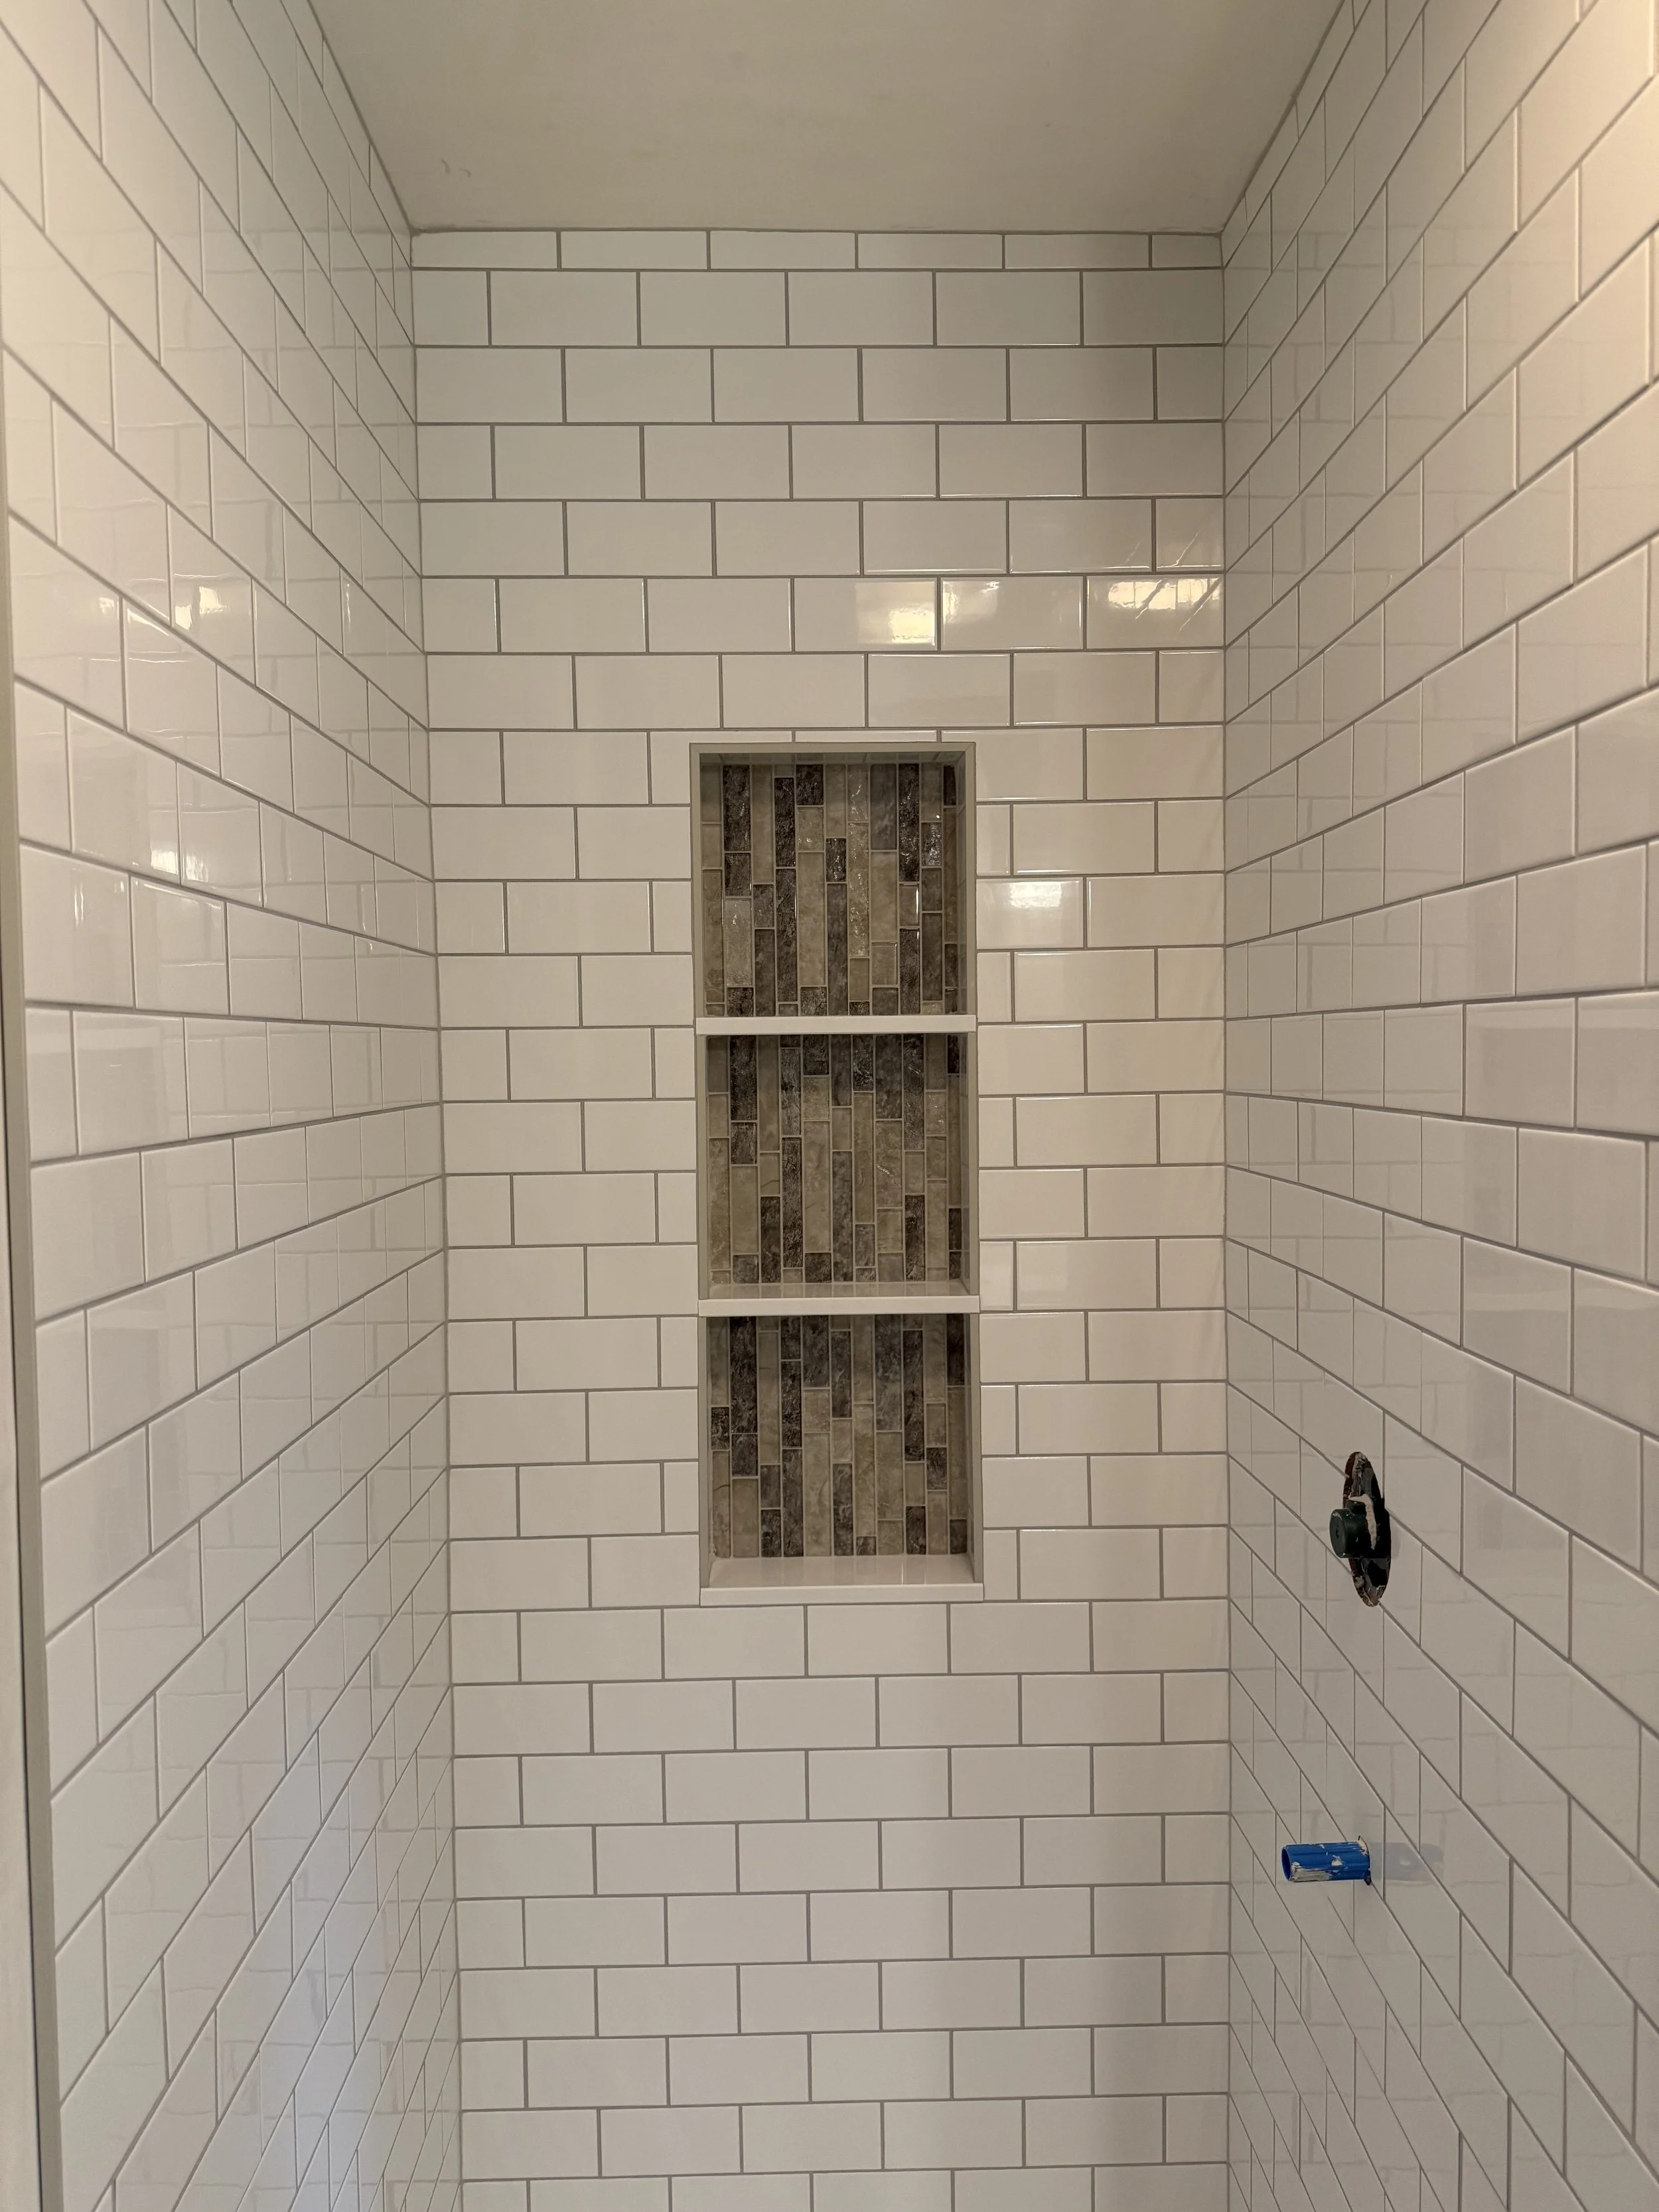
Step 4: Following all prep work, it’s time for the tile layout phase. We take all factors and components of your shower into careful consideration when choosing the layout, ensuring that every tile is executed perfectly before it gets installed.
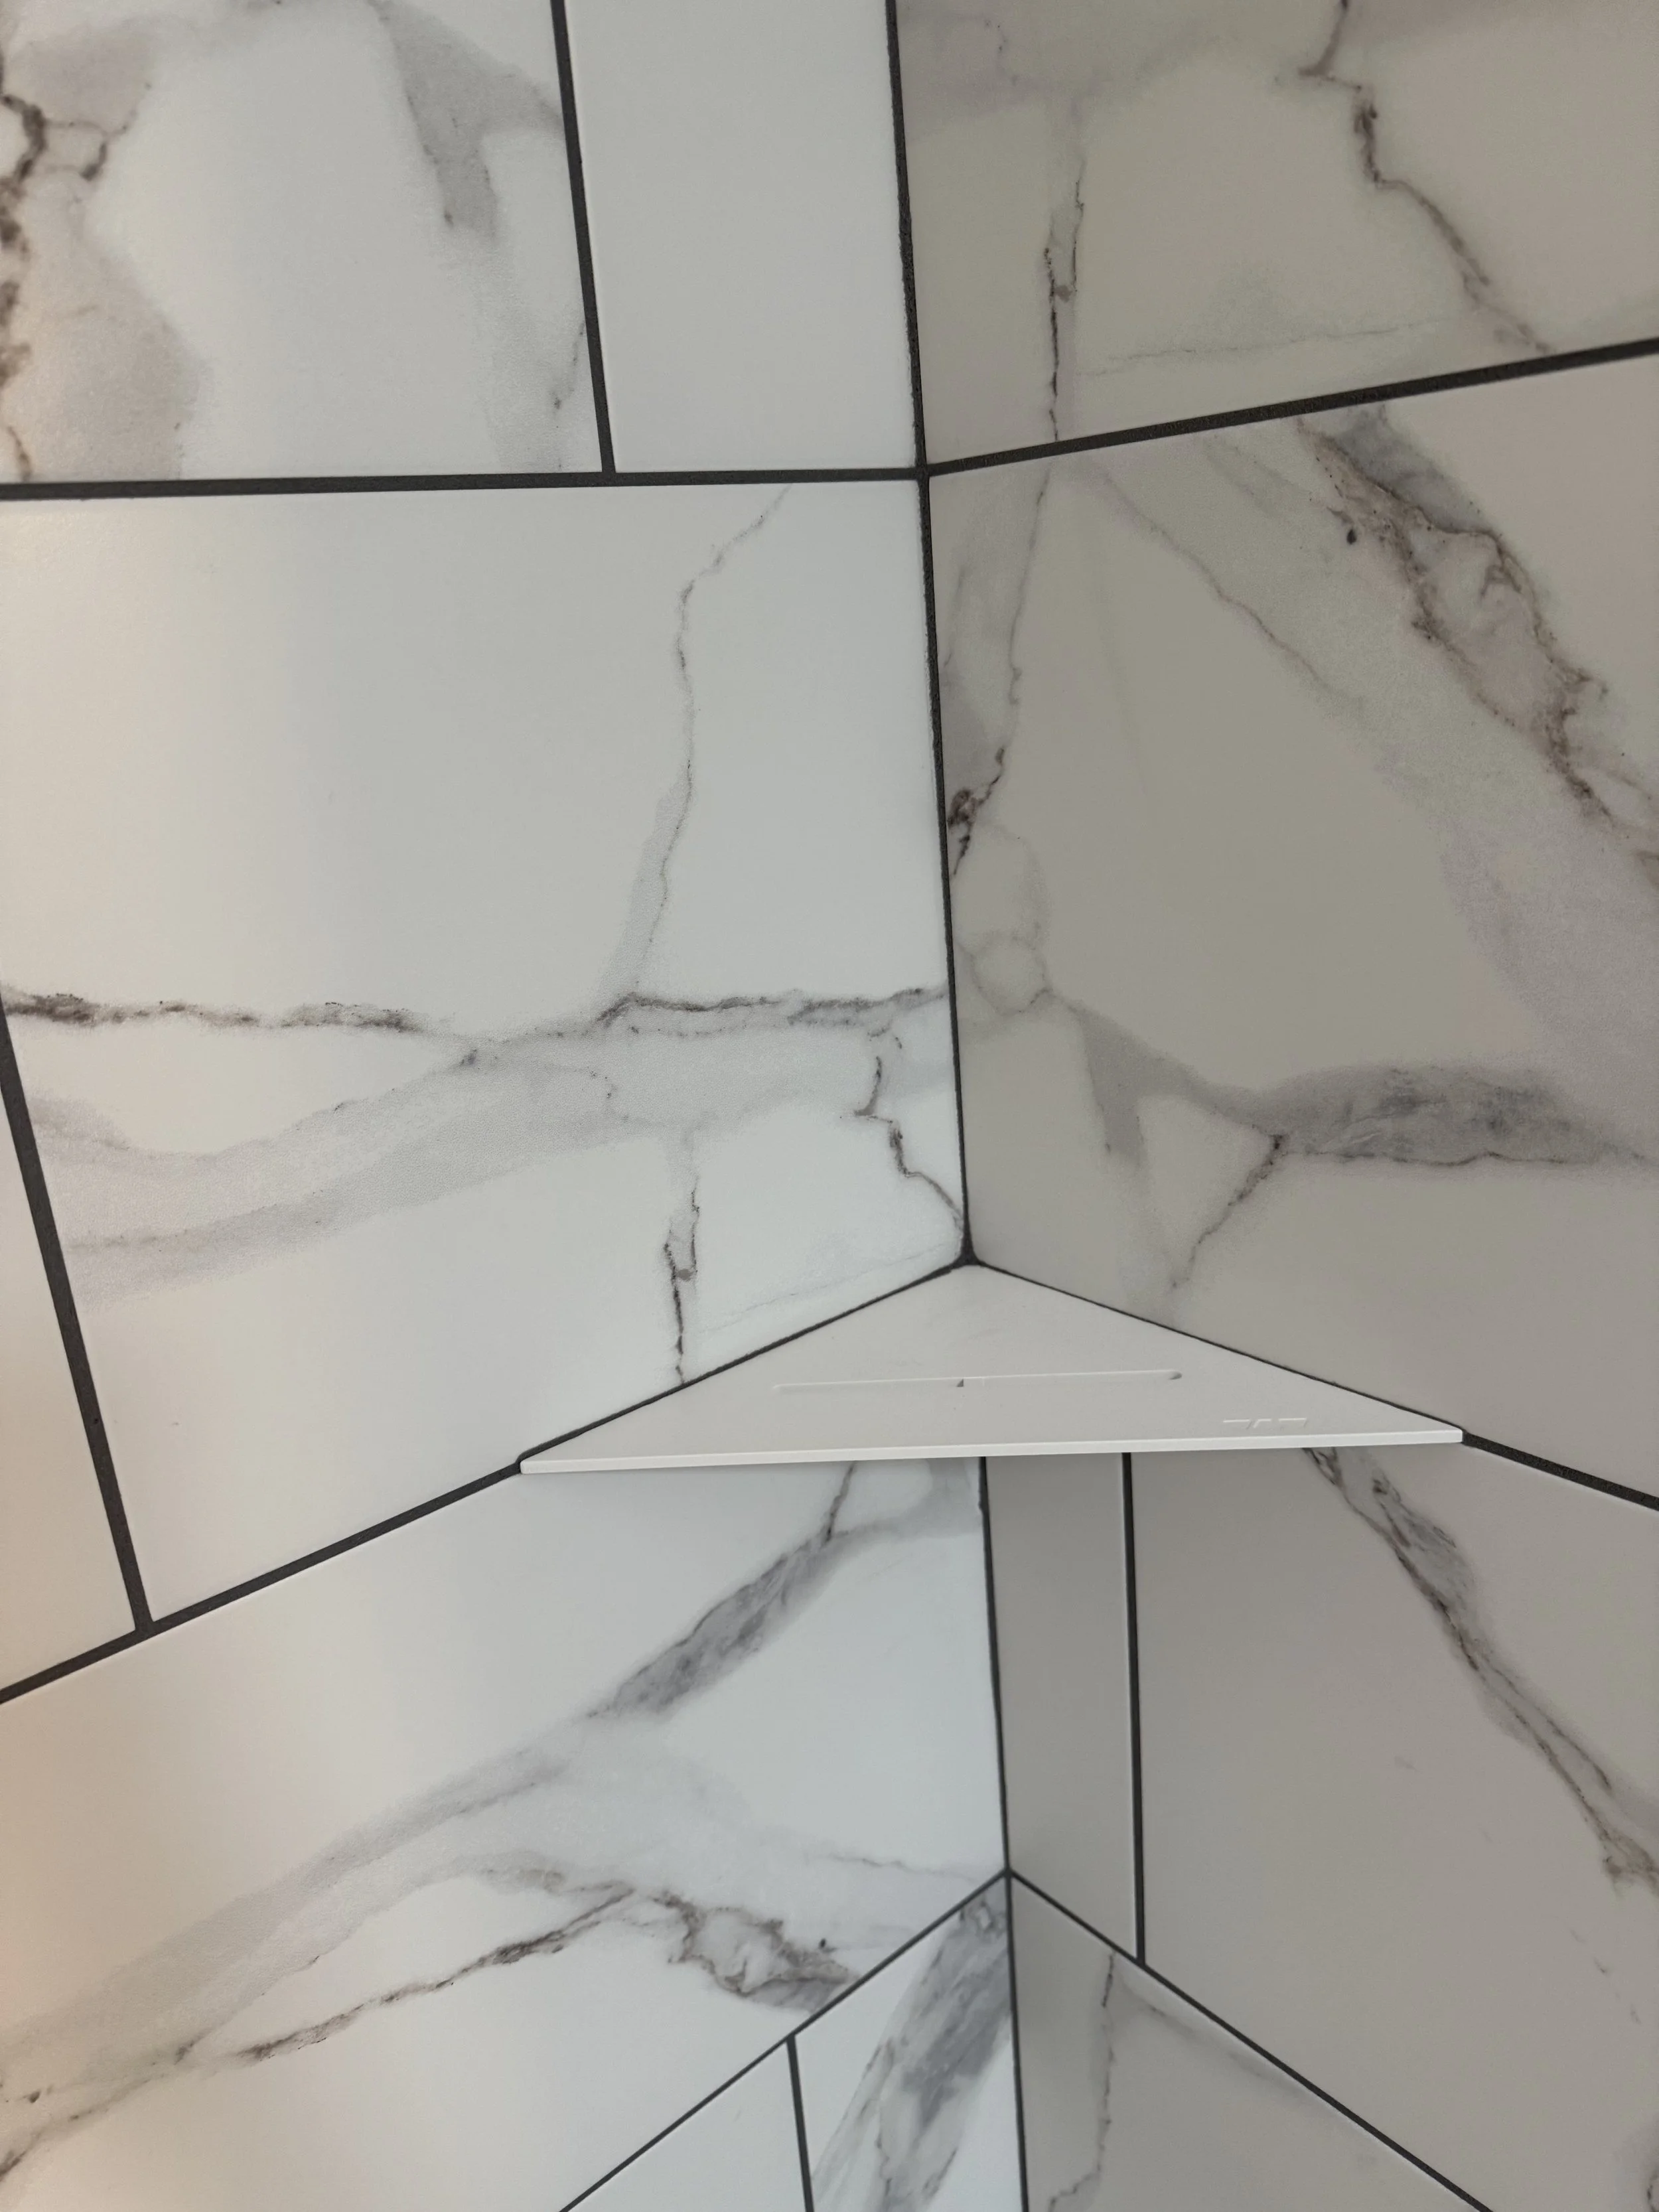
Step 5: Now, it’s installation time! We start by installing the drain grate of your choosing, after which we install the shower floor tile; allowing the thinset to dry overnight to ensure an even, solid bond to the pan. This will also create a more seamless transition into the wall tile. Once the thinset has cured overnight, we can cover the floor and start installing the wall tile. Spacers are always placed in between each tile to ensure the grout joints are uniform throughout the entire shower. If need be, we use leveling clips on the face of larger tiles to create a flat, seamless transition between each piece.
Step 6: Once all of the wall tile is set, it is time to grout and caulk. We start at the top of the shower, working our way down to the floor. After all of the walls have been grouted, we can remove the floor cover and grout the shower floor. Upon completing all grout installation, we silicone all transition joints using a specialized color matched silicone. This ensures that your shower is built to stand the test of time.