Floors
Our Tile Floor Process
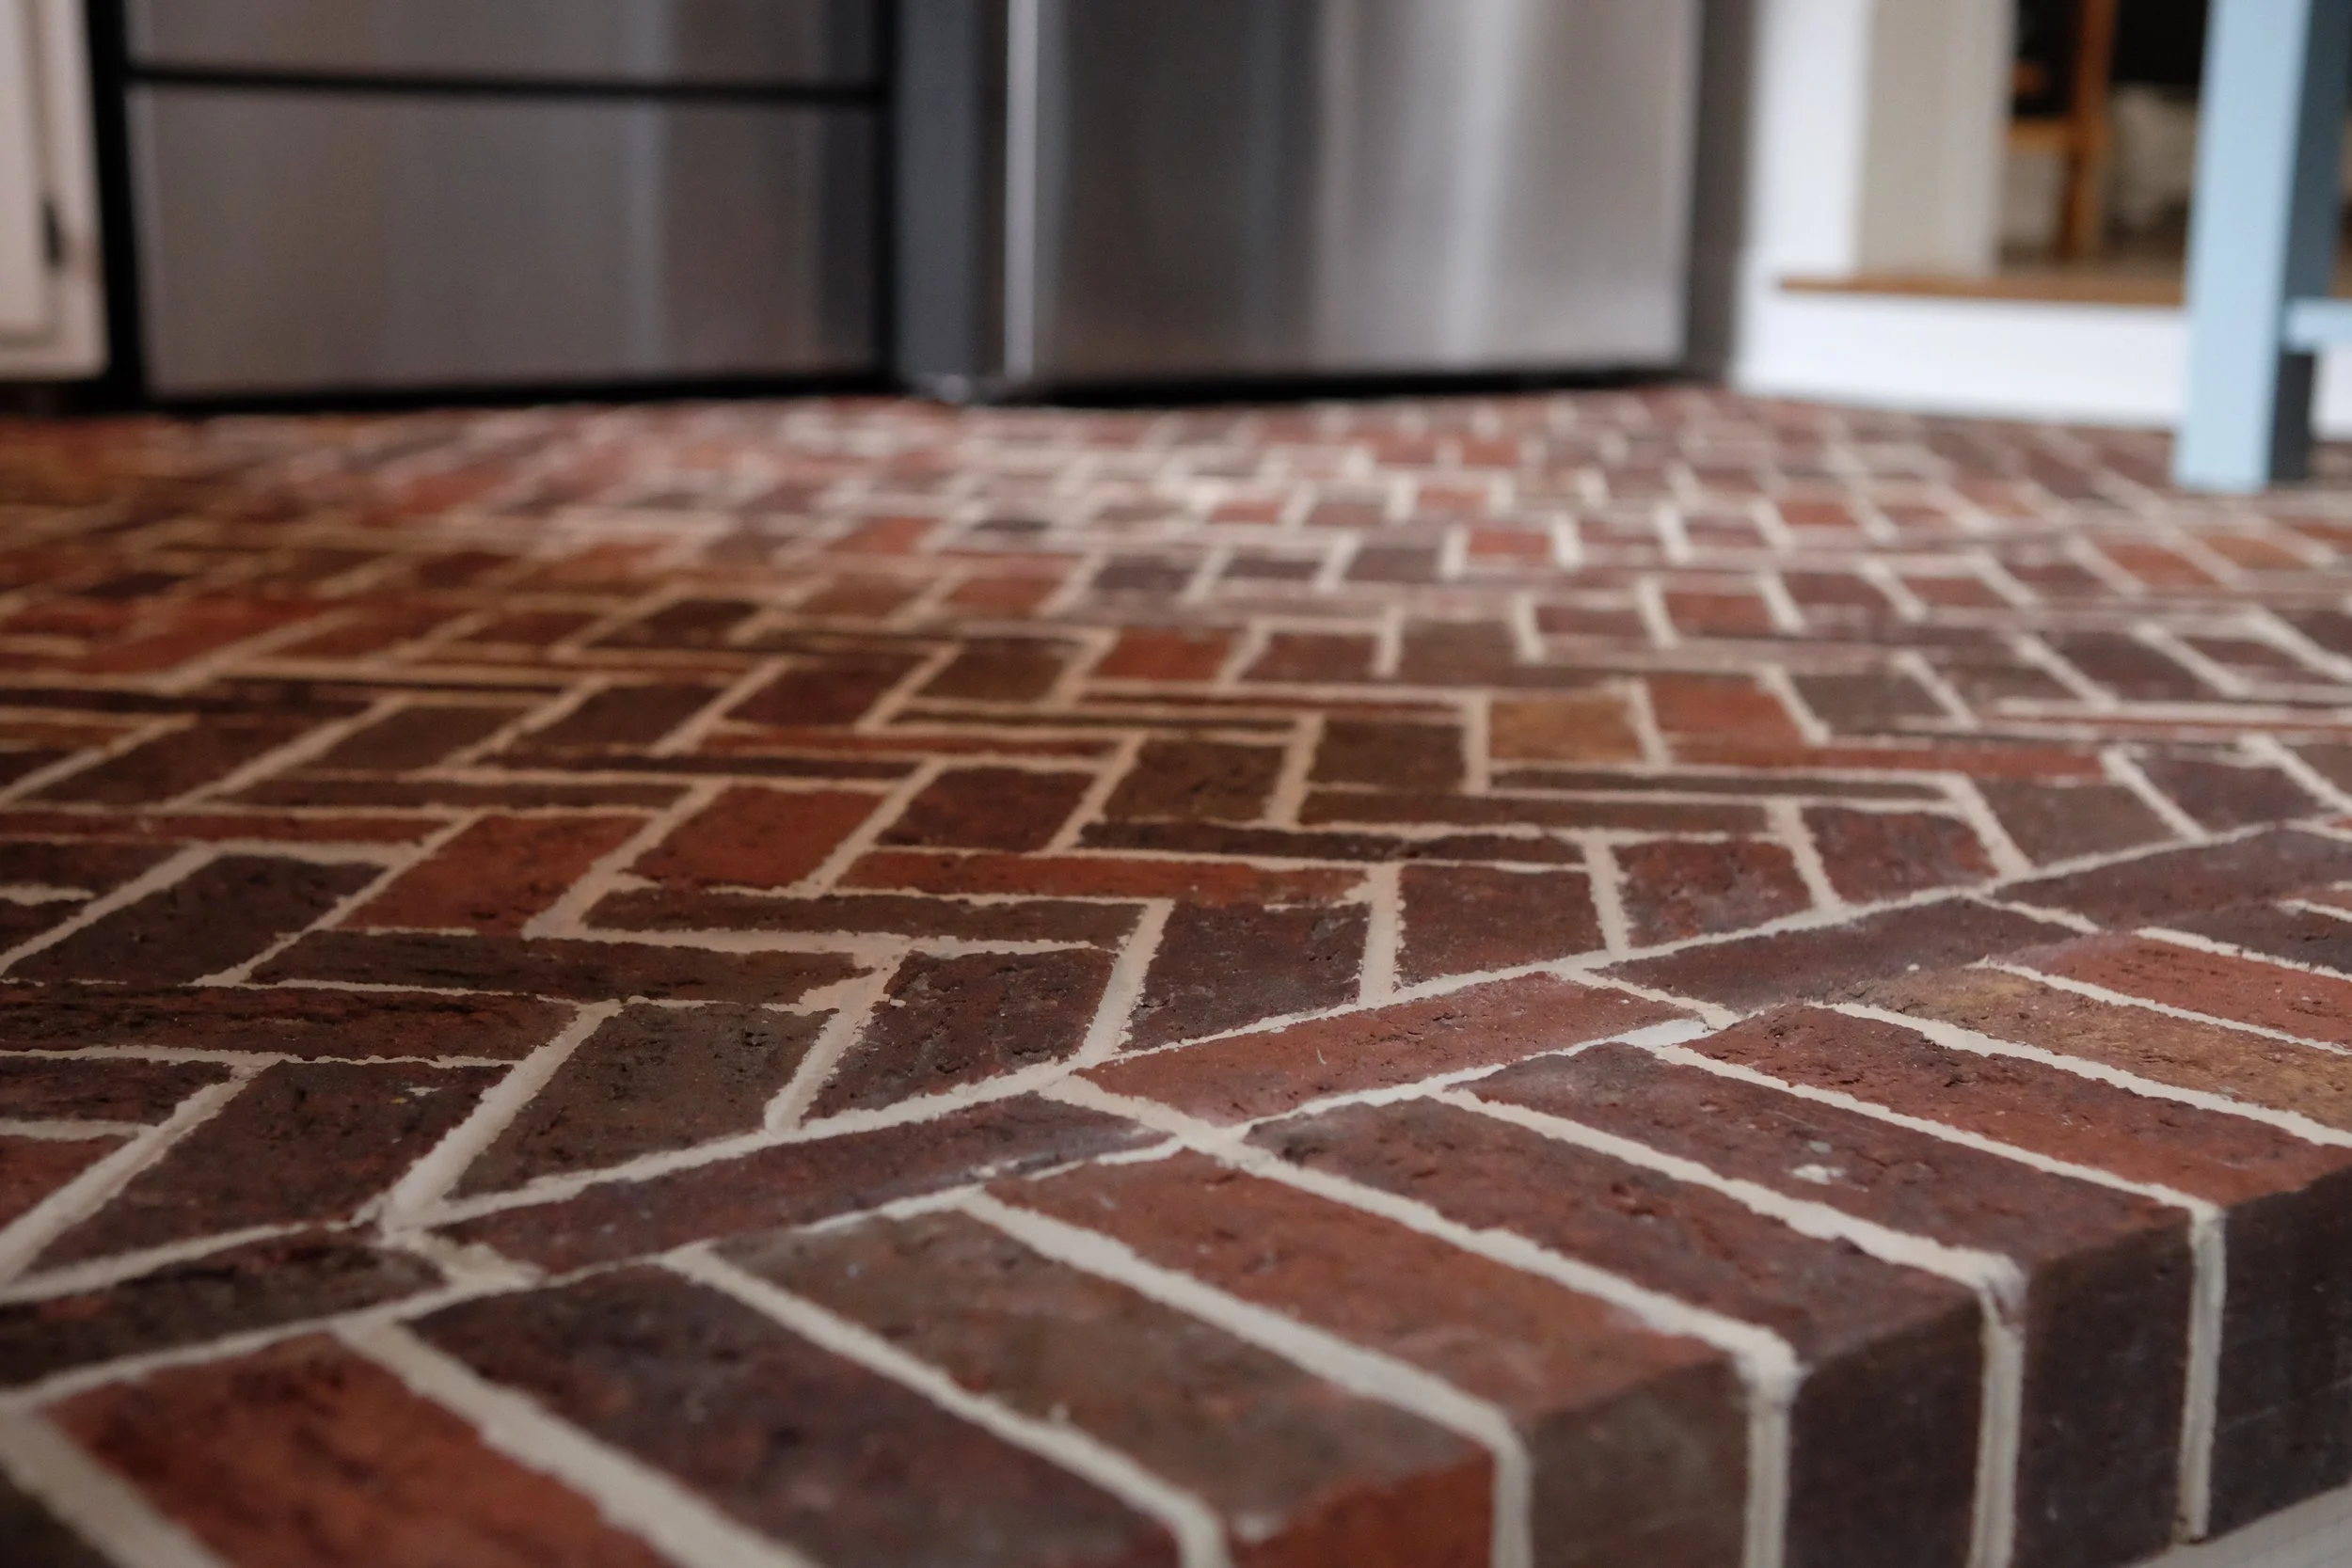
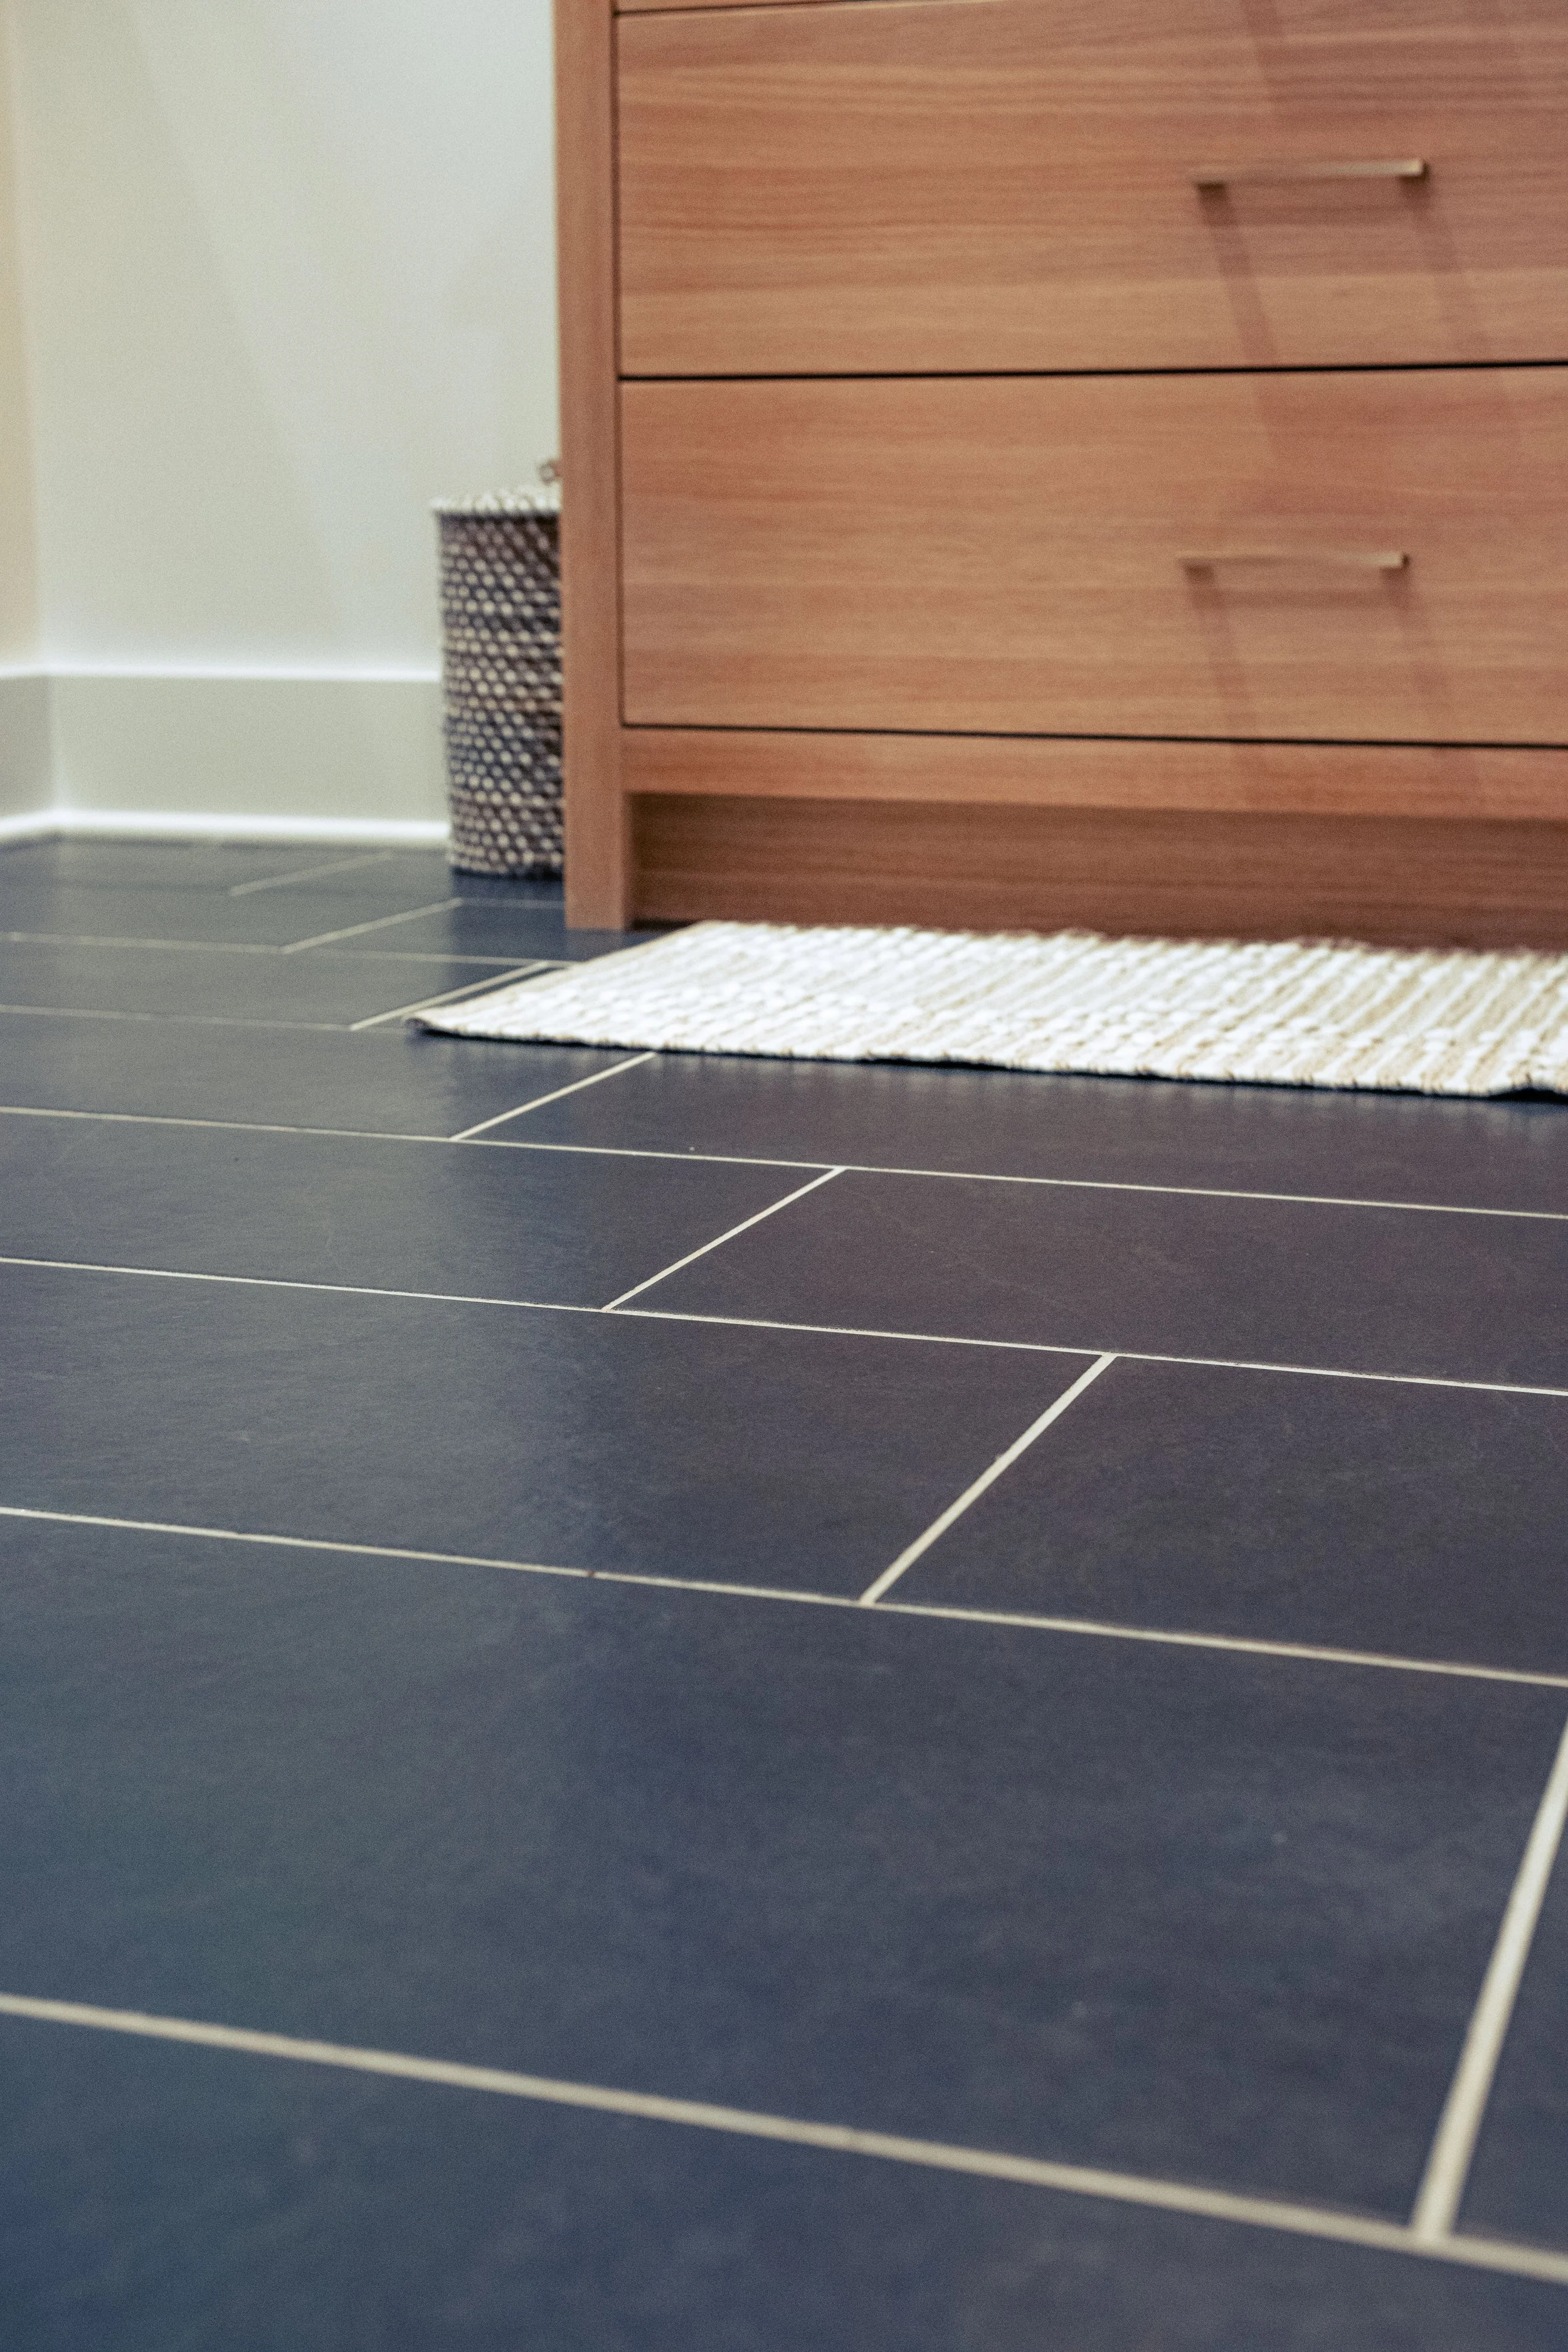
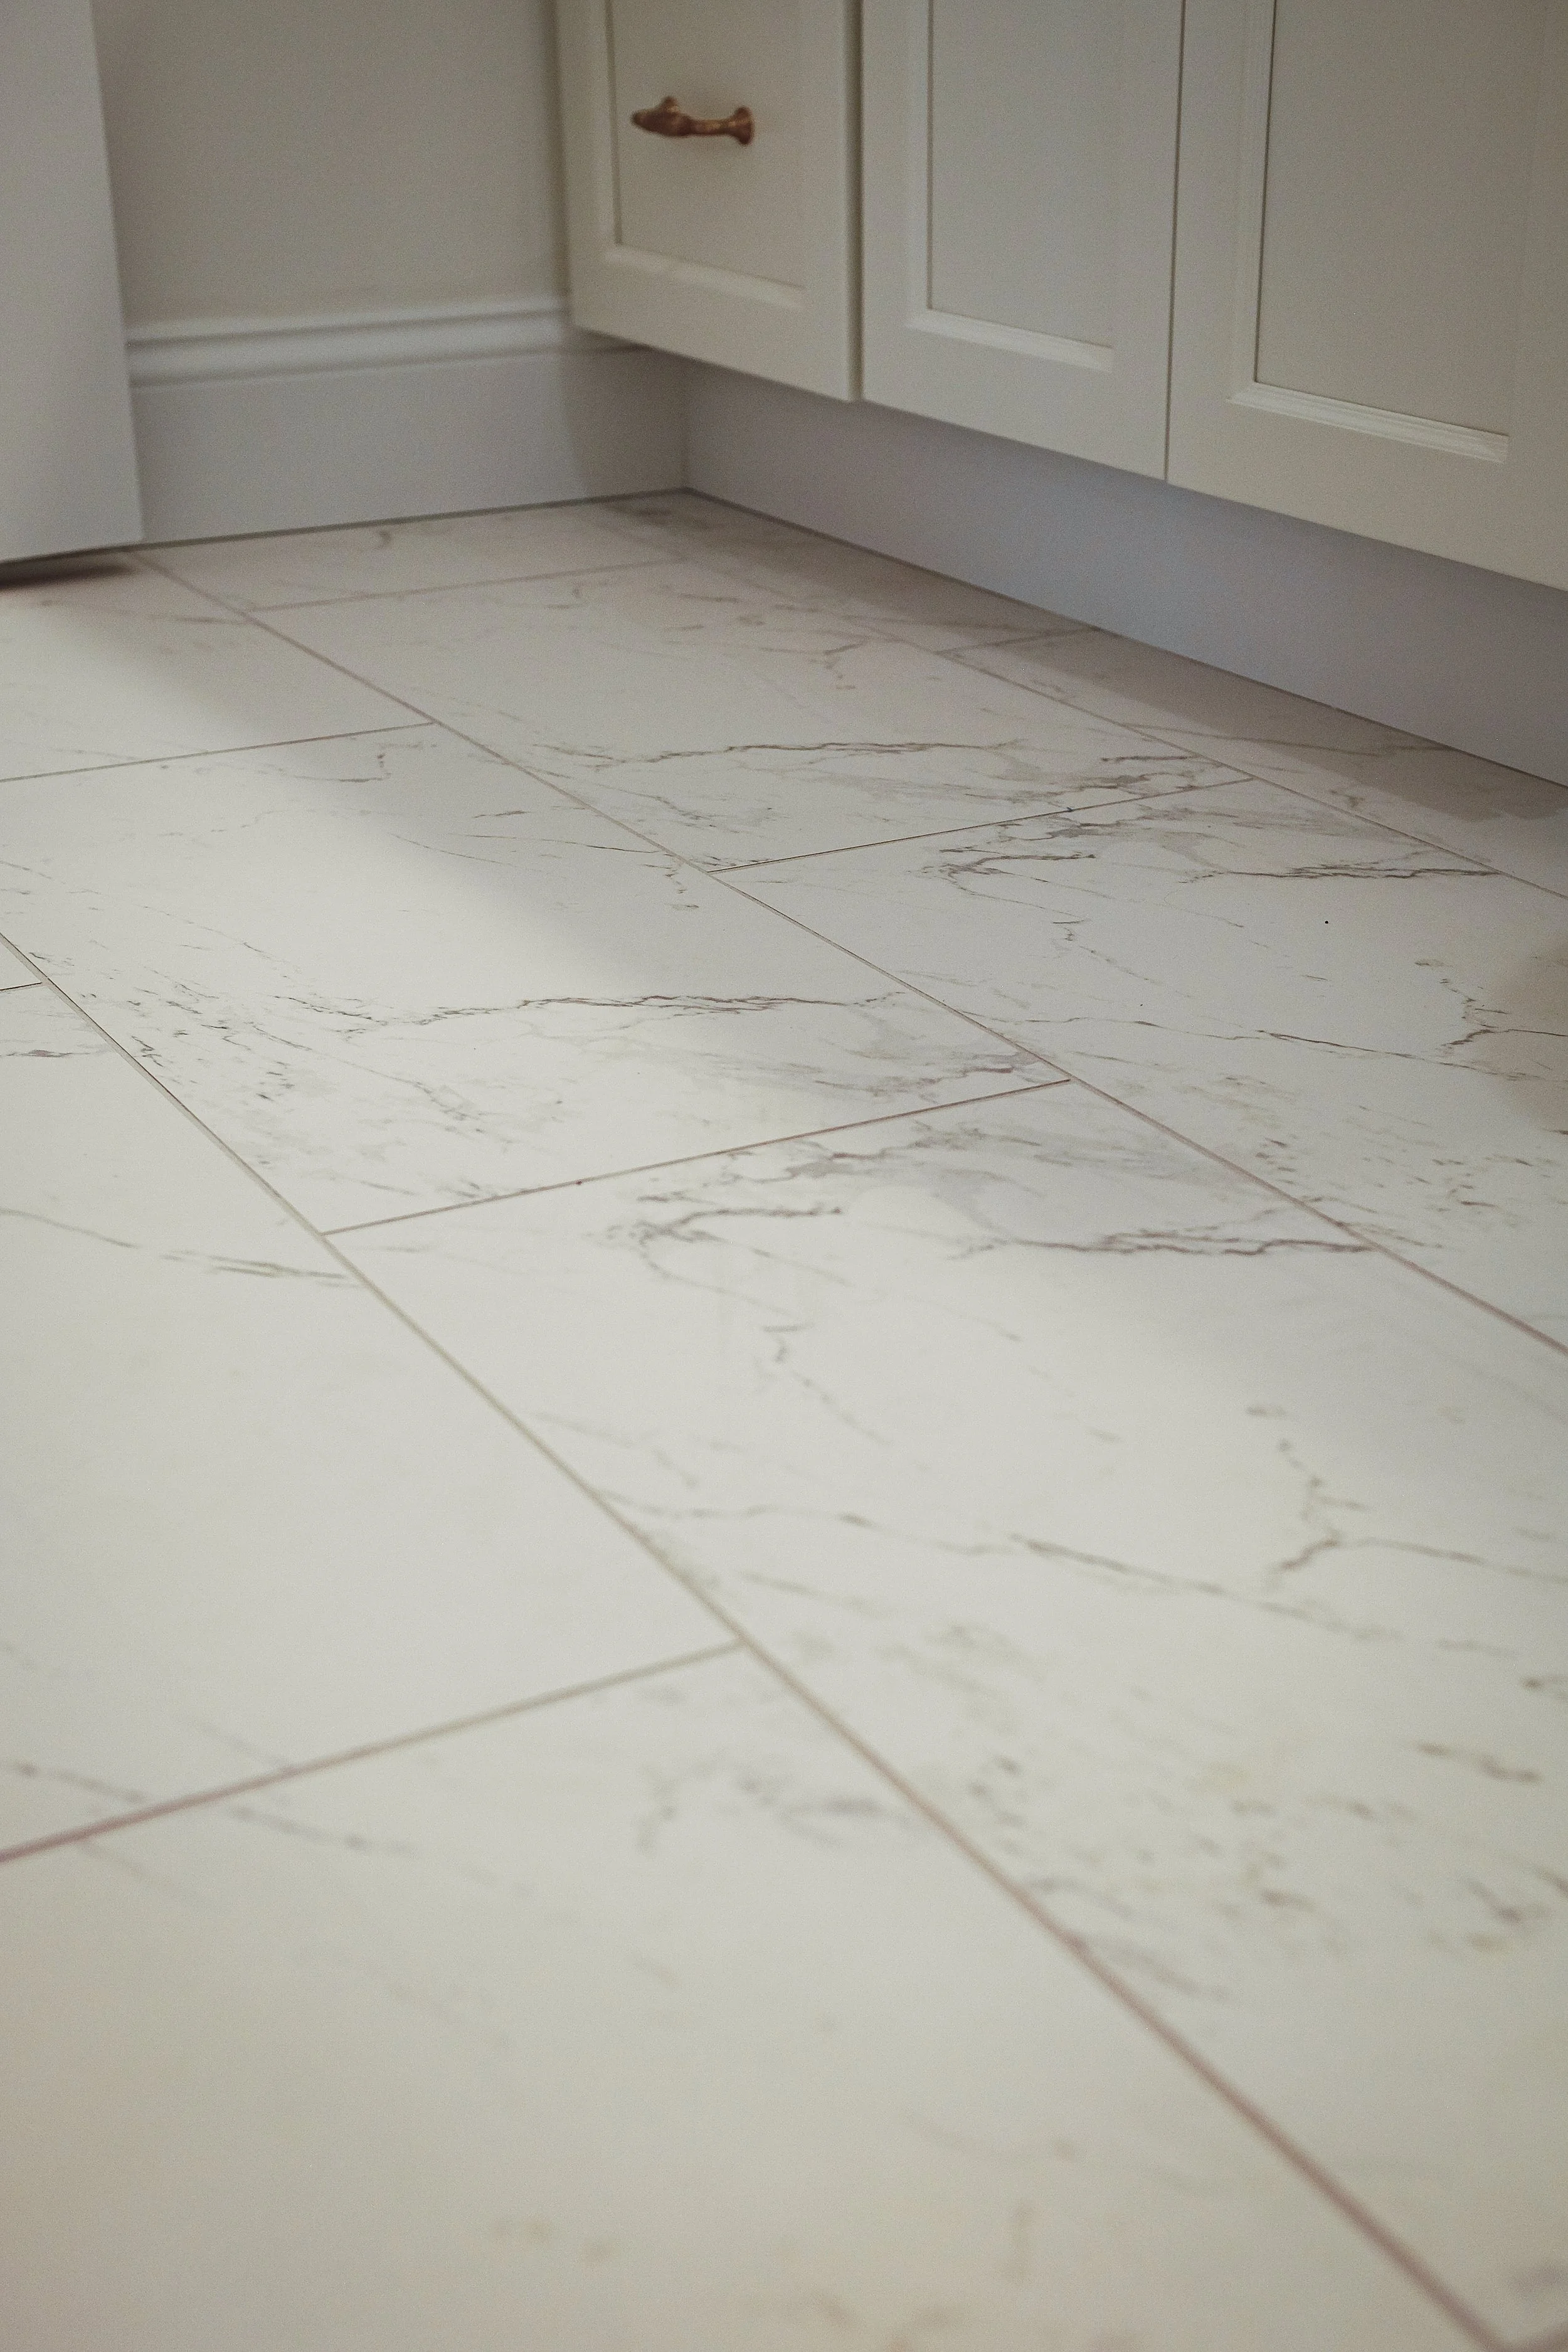
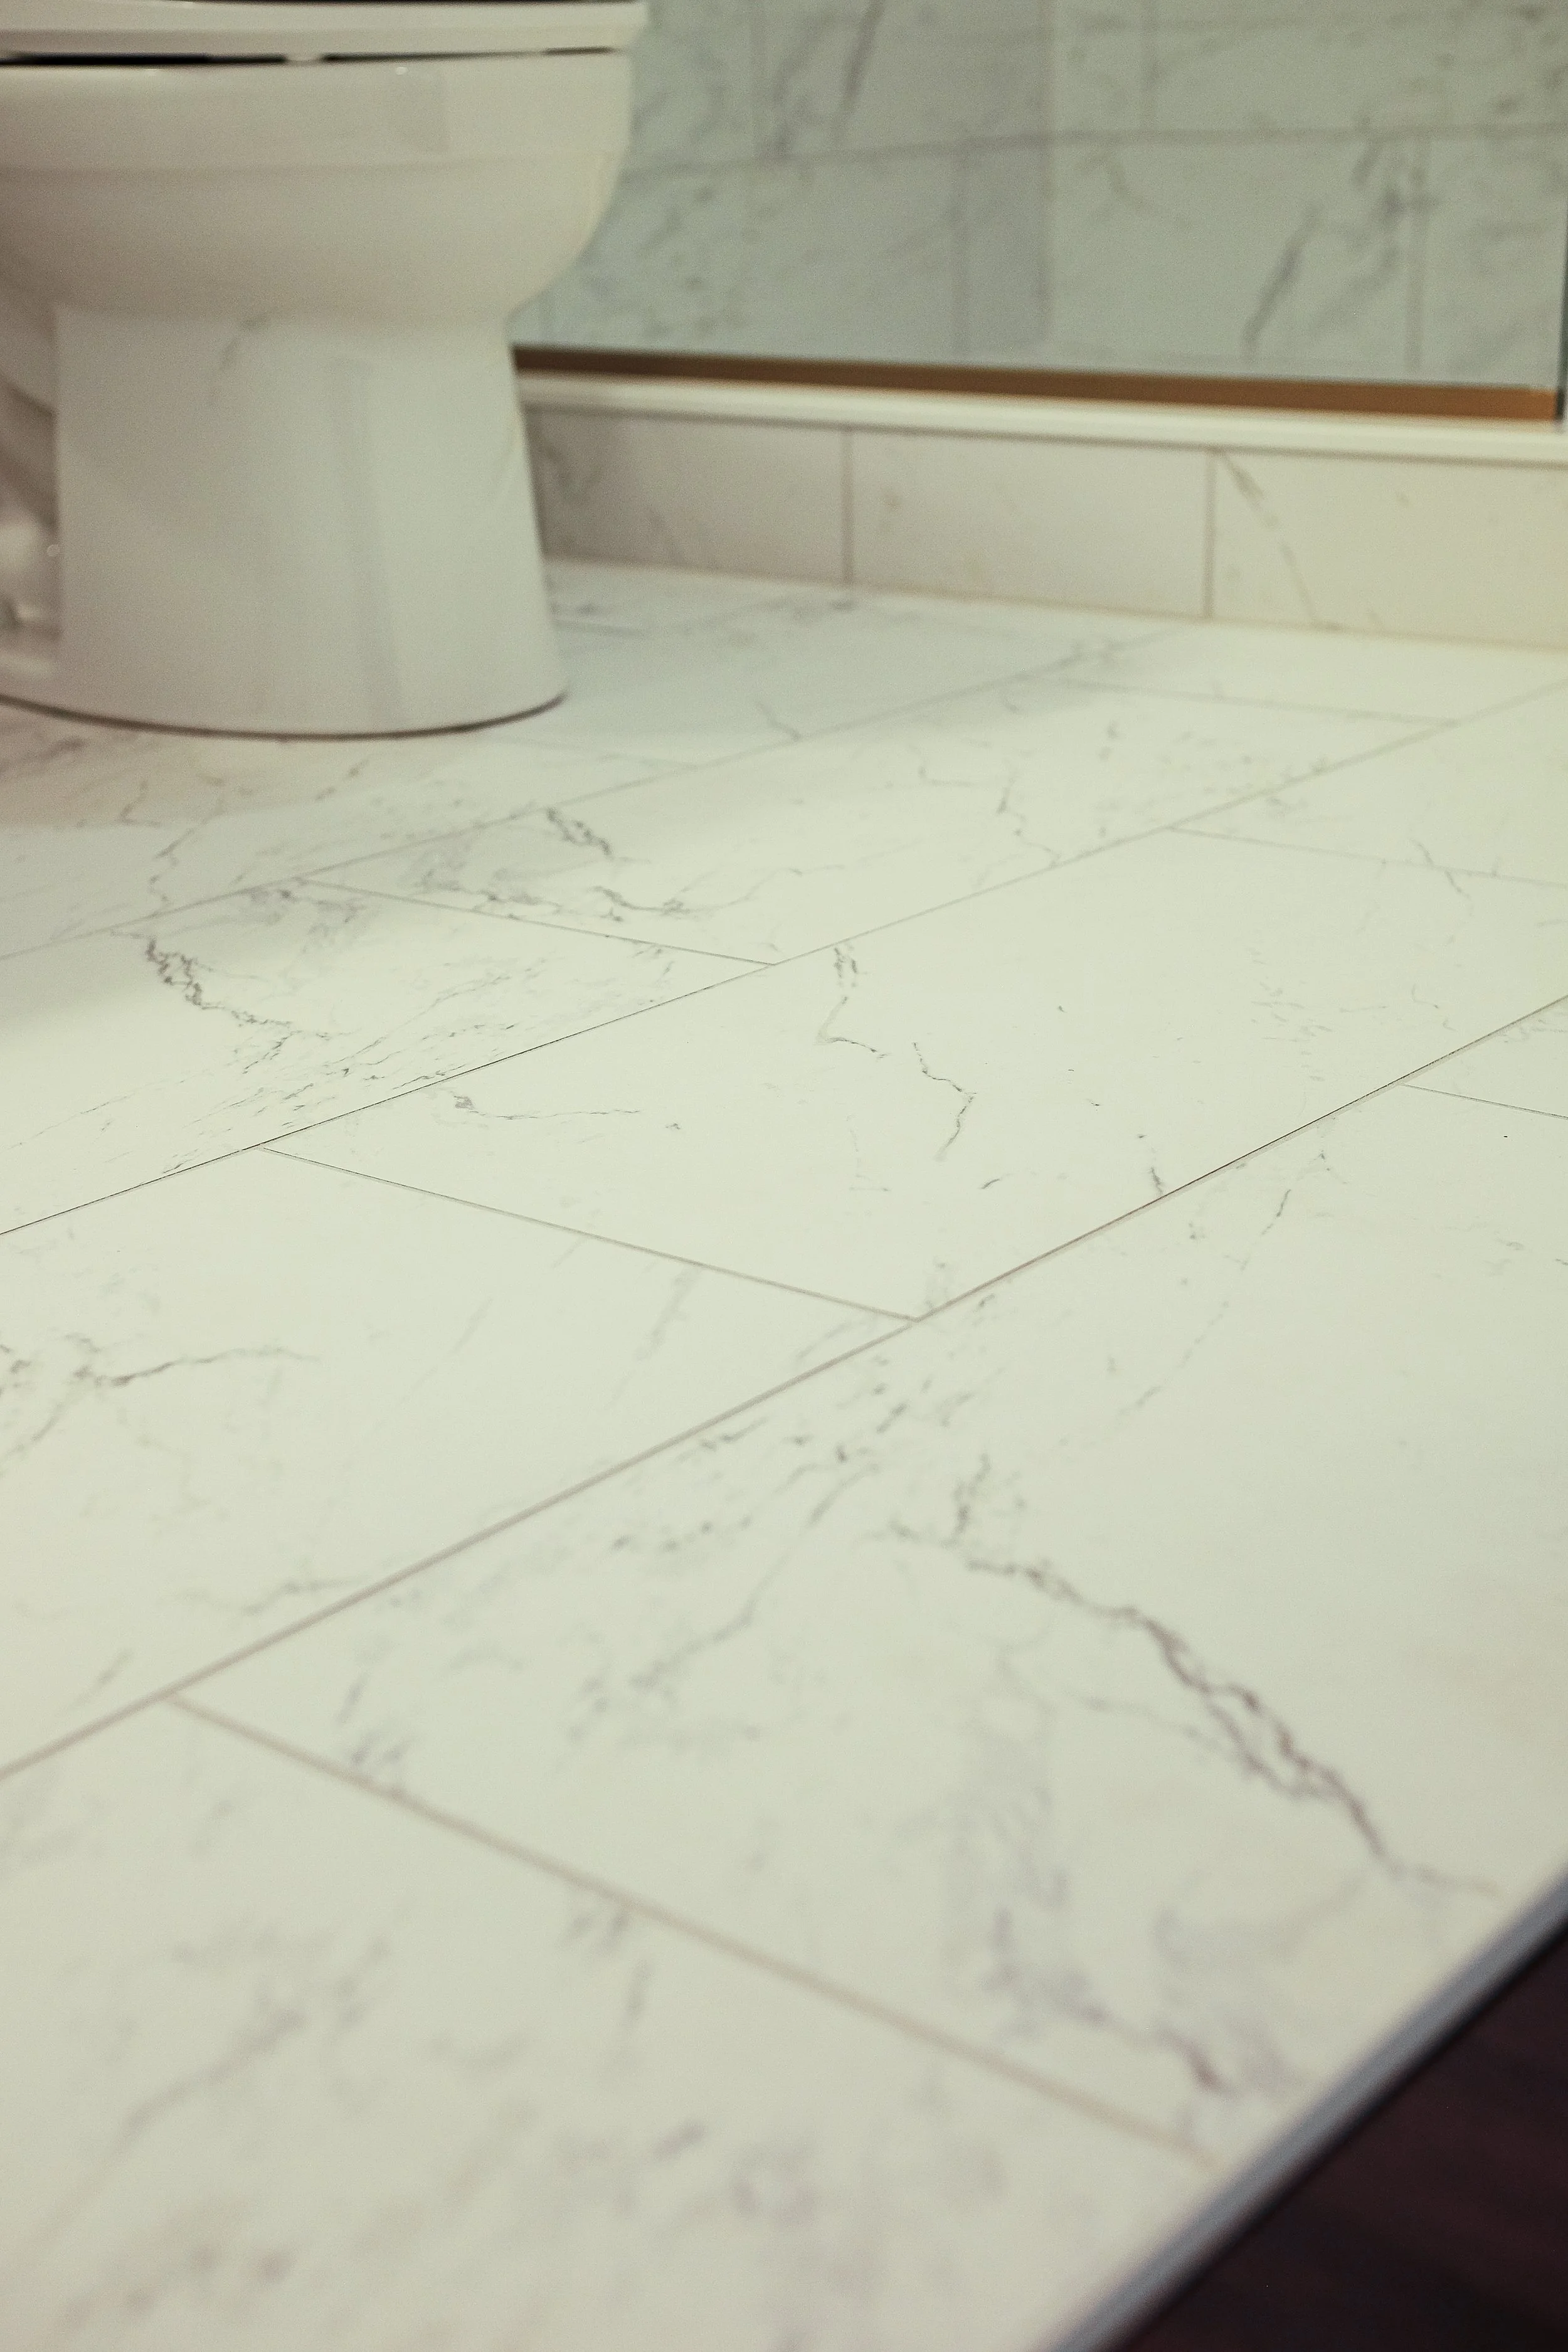
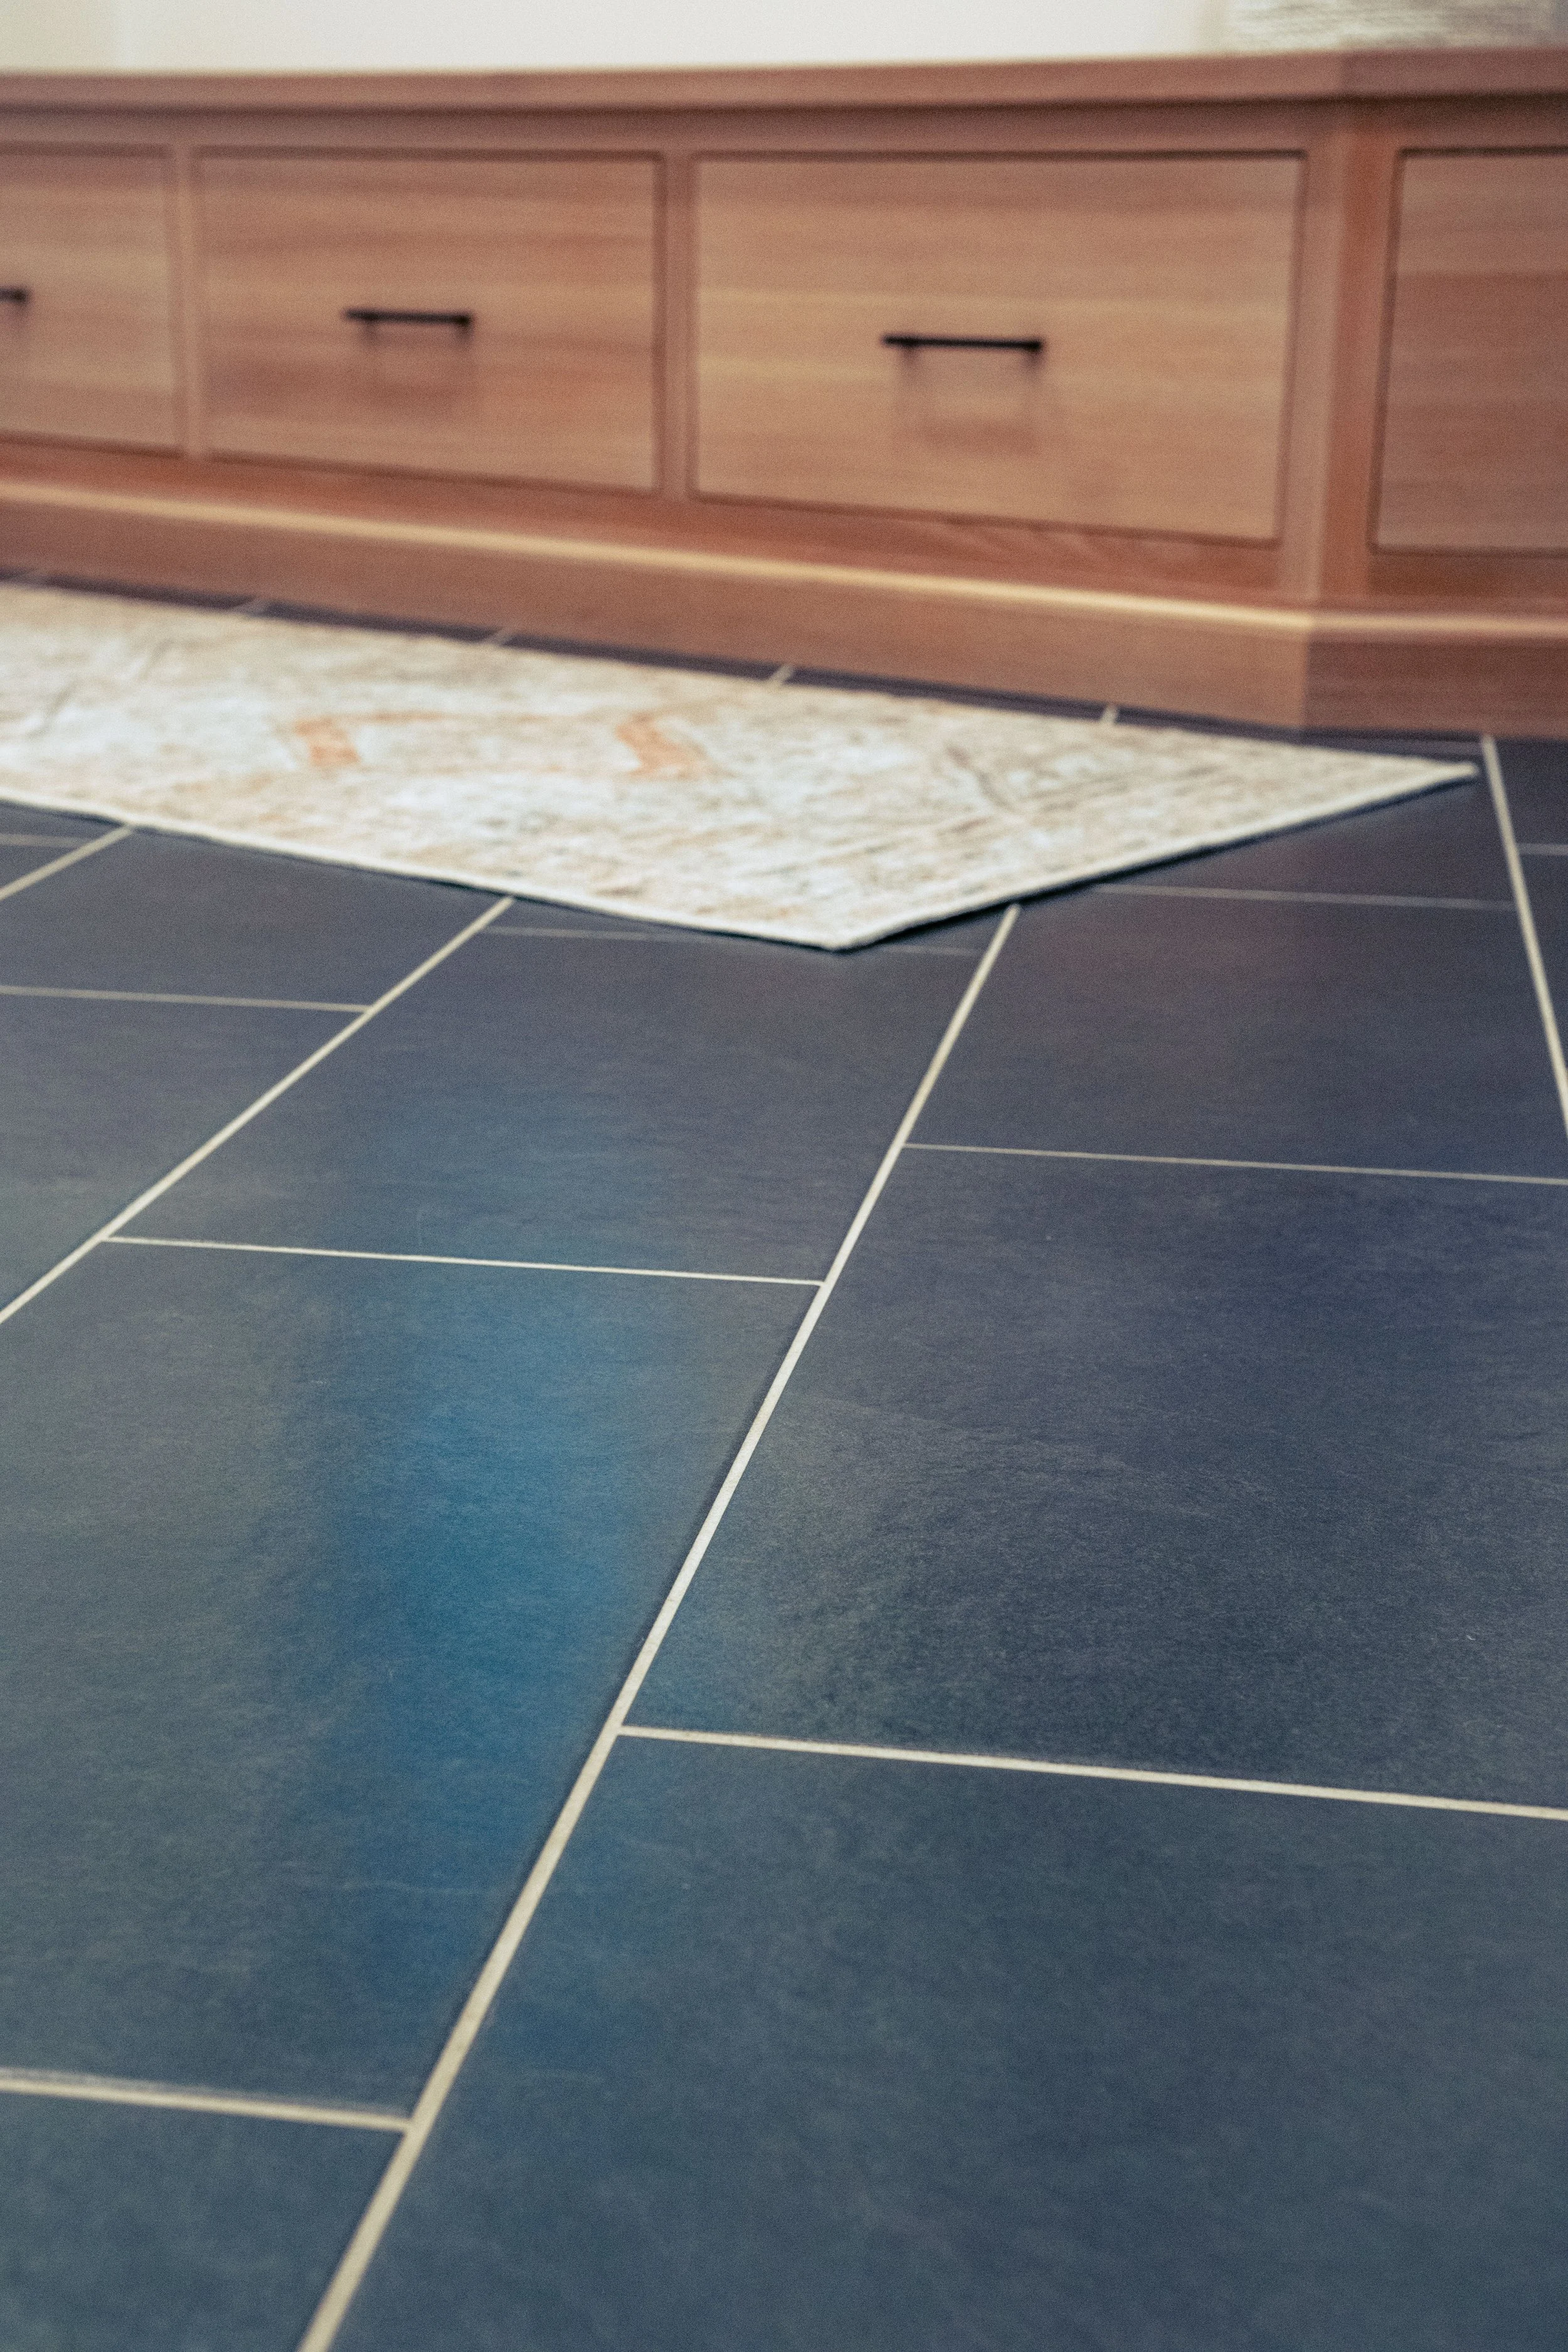
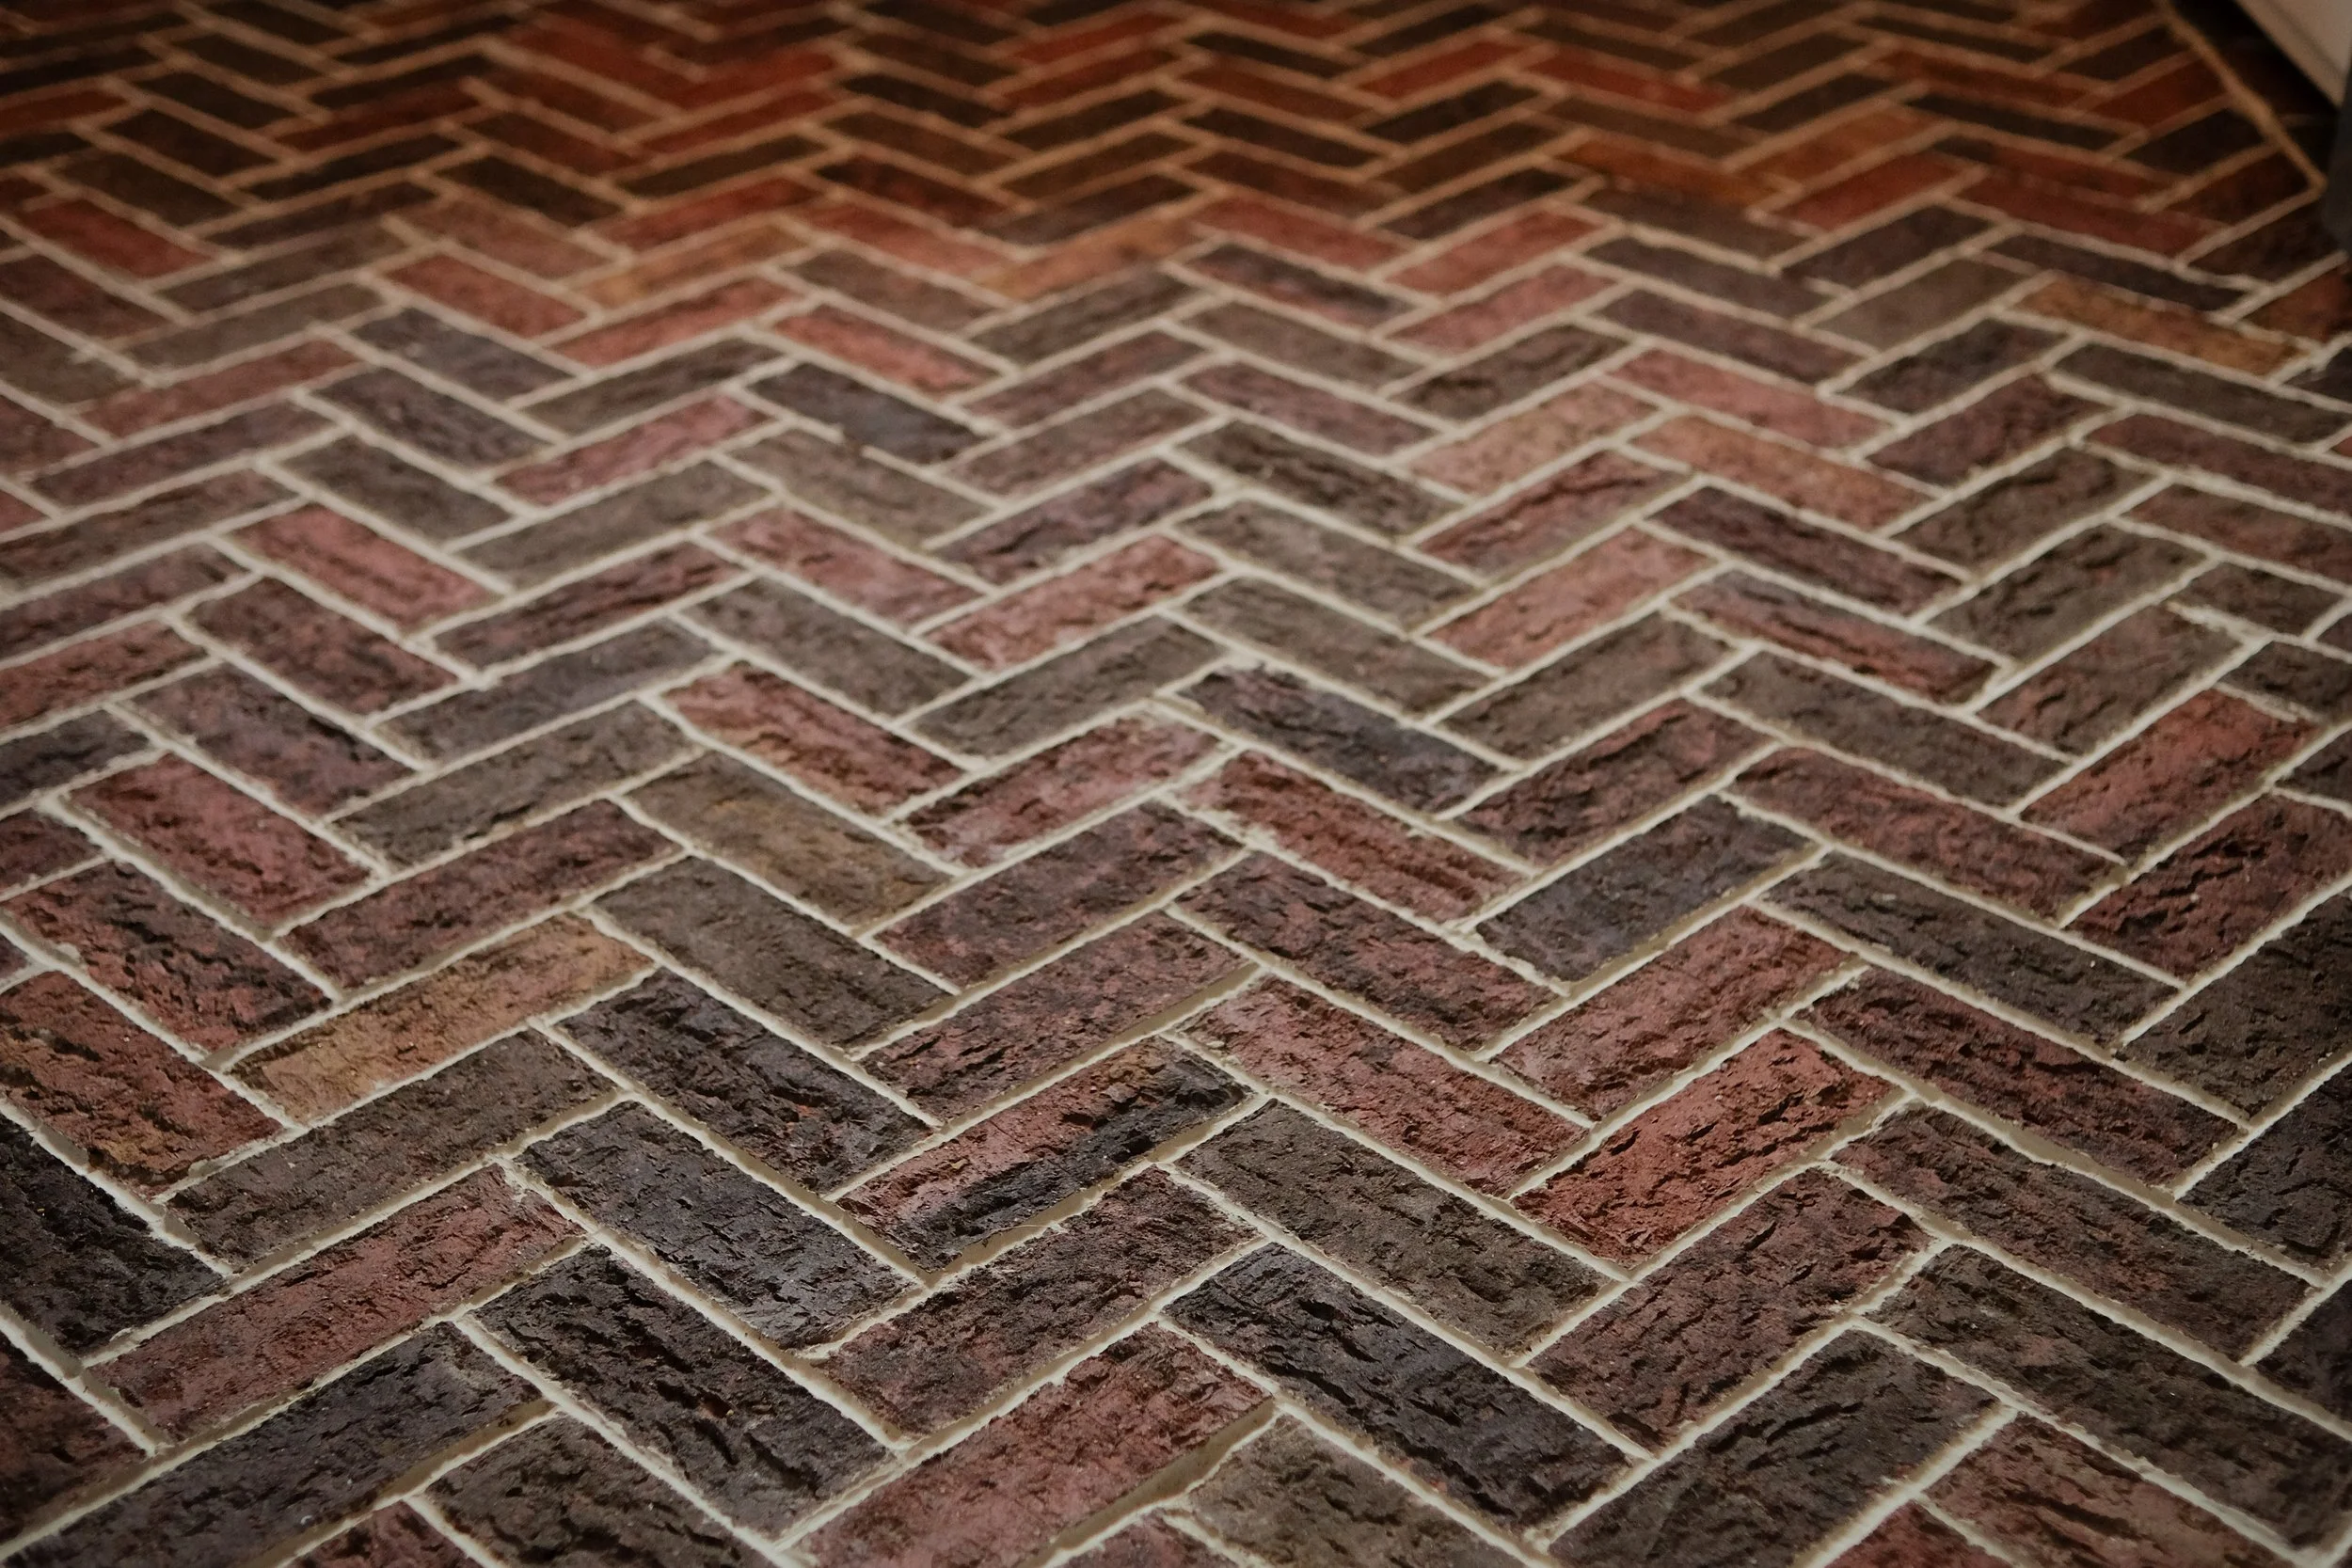
Tile floors can be a great asset in your home; whether in a kitchen, bathroom, mud room, living room, or any other space. Setting a tile floor involves several key steps to ensure a durable and attractive finish. First, the subfloor must be clean, level, and dry; any imperfections are repaired or smoothed out before installation. Next, we set an uncoupling membrane using thin-set mortar. This insures that the tile and grout will not shift or crack as your home settles with time. We then adhere the tile to the uncoupling membrane with thin-set and a notched trowel. We make sure to use a properly sized trowel to insure that your tile will have proper coverage, providing long lasting durability. The tiles are carefully pressed into the thin-set, using spacers to maintain consistent gaps for grout lines. We meticulously check that the tiles are level and aligned as we work. After the mortar has set, usually within 24 hours, the spacers are removed and grout is applied to fill the joints between tiles. Excess grout is wiped off the tile with a damp sponge, and a microfiber rag is used to insure that all sand and haze are eliminated. These steps result in a long-lasting tile floor to accent and accommodate your families living space.